To publish your App in Integration Shop, the App goes through moderation, which checks that the integration works. The App settings page has a Publication tab with a checklist that helps prepare the App for moderation. The Publication tab is available only for public Apps.
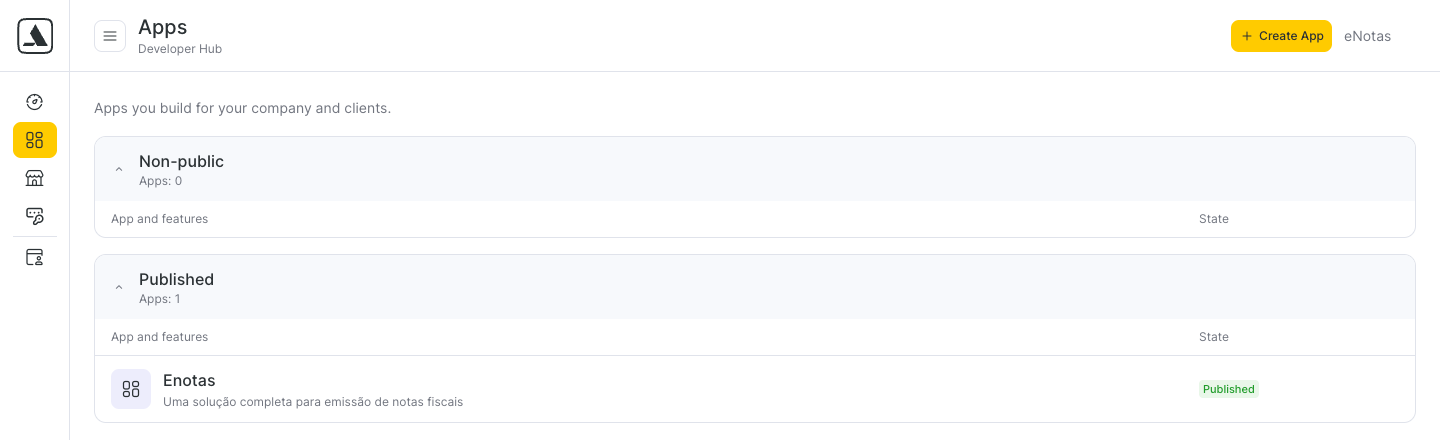
To open the Publication tab, open Developer Hub, go to Integration Shop > Publications, click Create card and select the App. The list shows non-public Apps and drafts of public Apps. For a public App, the Publication tab opens. For a non-public App, the General information tab opens: change Application type to Public first. For the steps before moderation, see Step-by-step guide to placement in the marketplace.
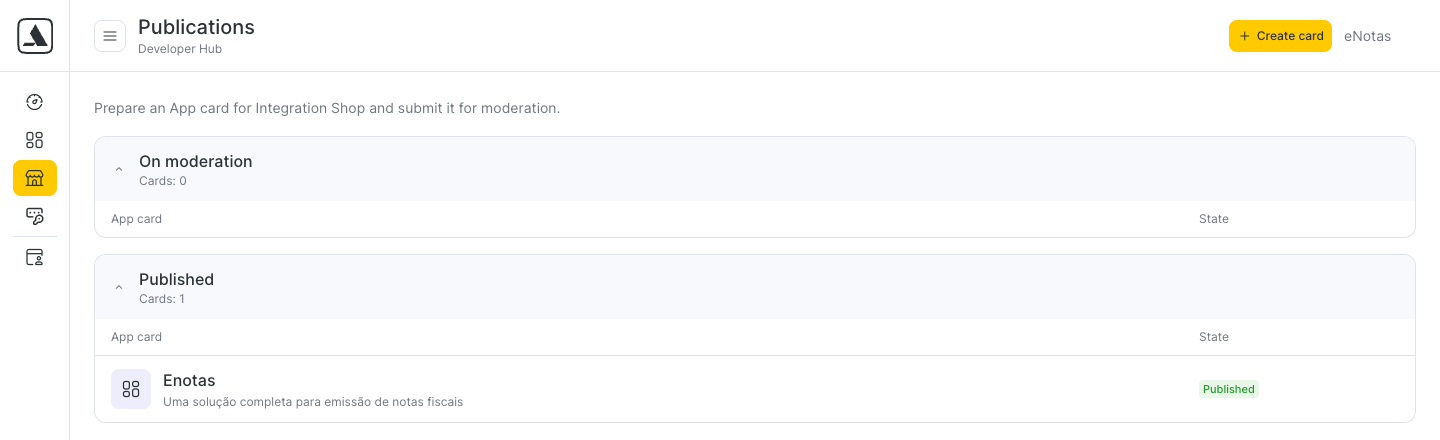
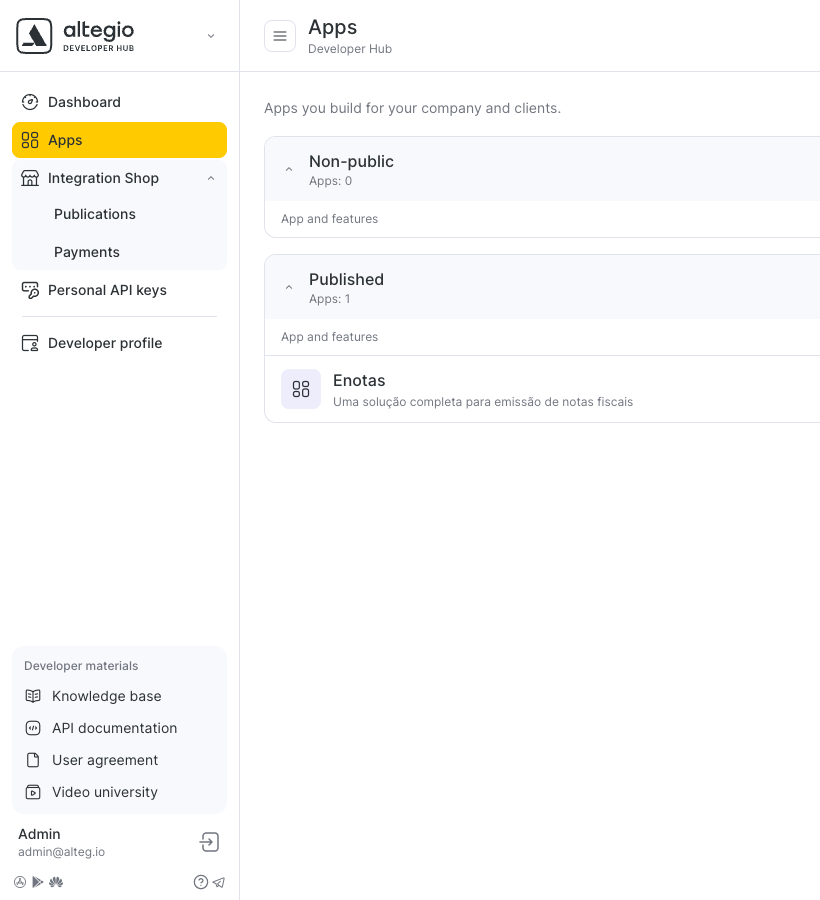
Your Apps are listed in Developer Hub > Apps. Until an App is published in Integration Shop, including while it is on moderation, it is in the Non-public group.
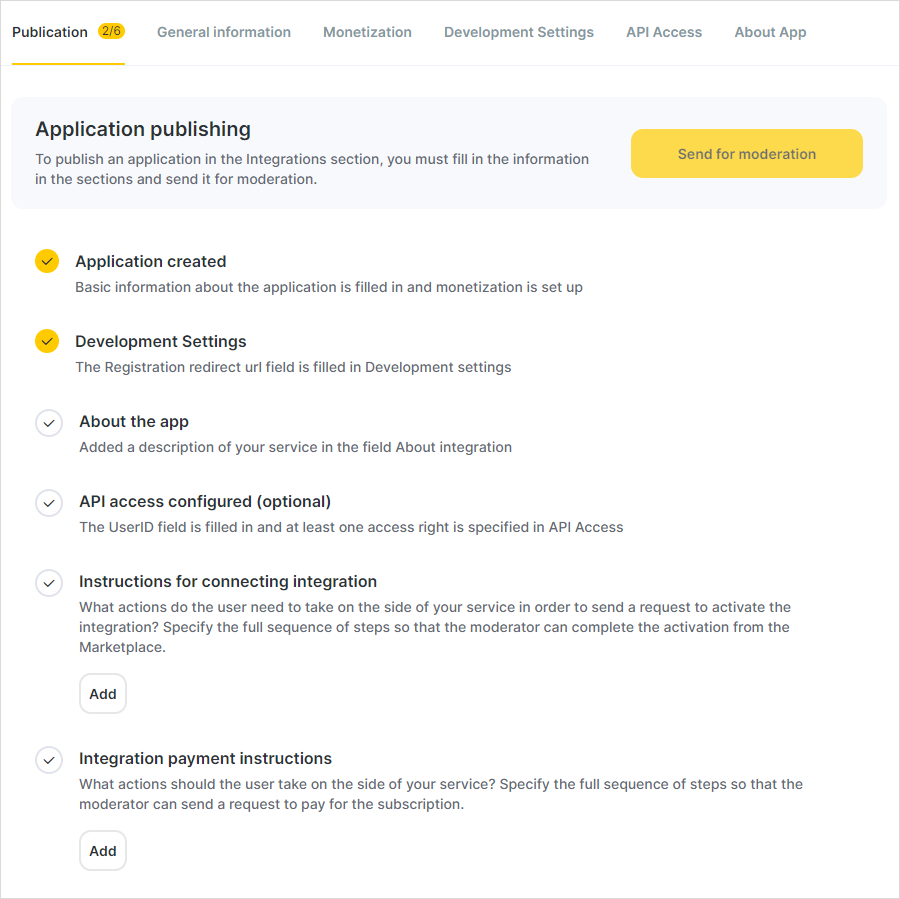
Example of the “Publish” tab for a chatbot and integrations from other categories
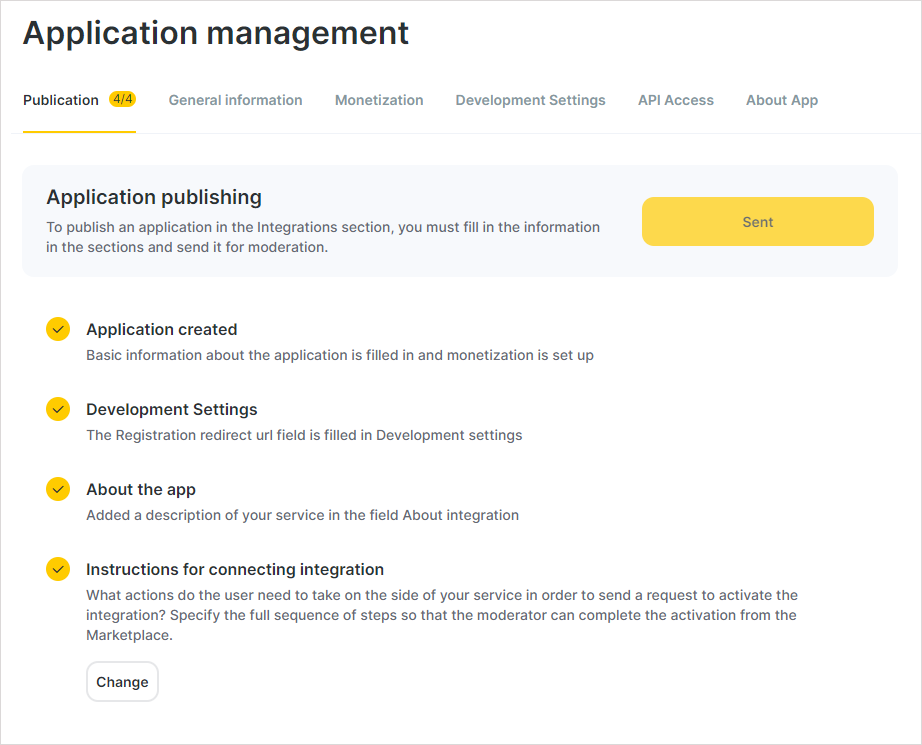
Example of the “Publish” tab for an SMS aggregator
Application created
This item is always checked automatically, since the basic information is filled in during creation.
Settings for Development
In order for this item to be considered completed, you need to go to the “Development Settings” tab and enter the required link in the “Registration Redirect Url” field. After filling, save the changes. Without filling in this field, the moderator will not be able to verify the connection of your application integration.
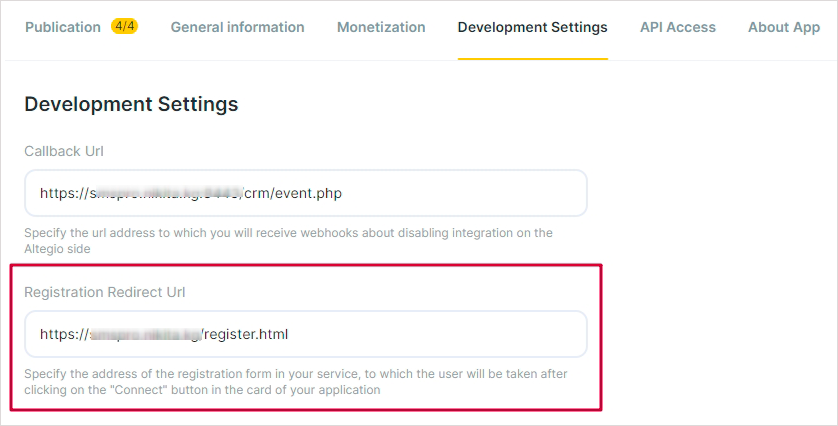
An example of filling in the “Registration Redirect Url” field
About application
In order for this item to be considered completed, you need to go to the “About App” tab and fill in the description of your application in the “About integration” field. After filling, save the changes.
We also recommend uploading images to the Gallery block that demonstrate the key functionality of your service. Uploading an image is not required, however, without them, the conversion to your app connections will be significantly lower.
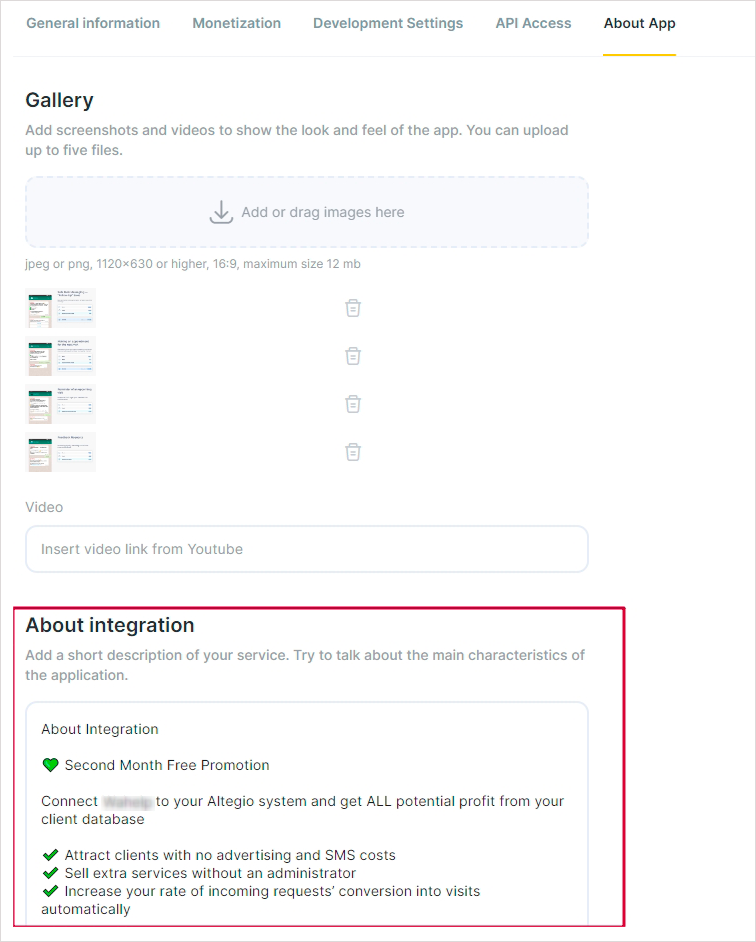
An example of filling in the “About integration” field
Access to the API is configured (optional item)
If your integration does not have a system user, then this item is not necessary. If your integration has a system user, then it is better to fill in this information, but you can send the application for moderation without it.
In order for this item to be considered completed, you need to go to the “API Access” tab, enter the id of your system user in the “User ID” field and give him the necessary access rights. After filling, save the changes. Read more.
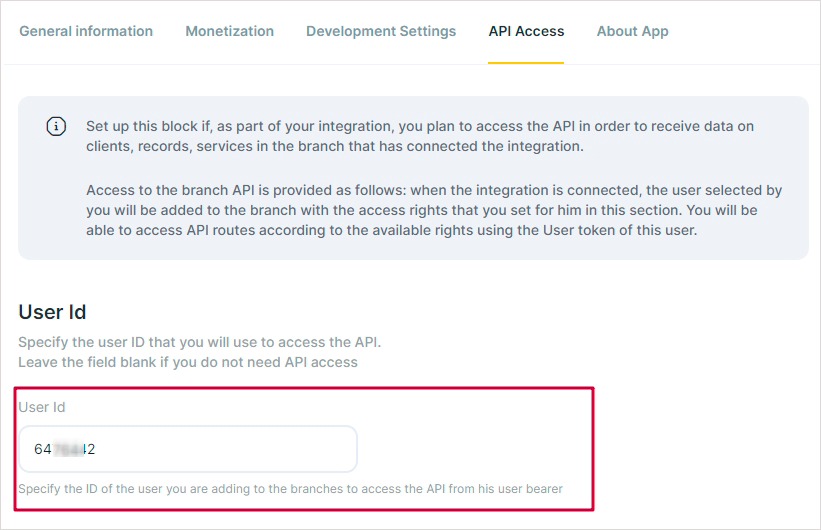
Example of filling in the “User ID” field
Instructions for connecting integration
In order for this item to be considered completed, you need to click on the “Add” button and fill in the instructions in the text field. After filling, save the changes. Without this information, it will be difficult for the moderator to understand what actions need to be taken to check the connection of the integration, so the more accurate the instruction, the faster the moderation will be. Information can also be changed after saving.
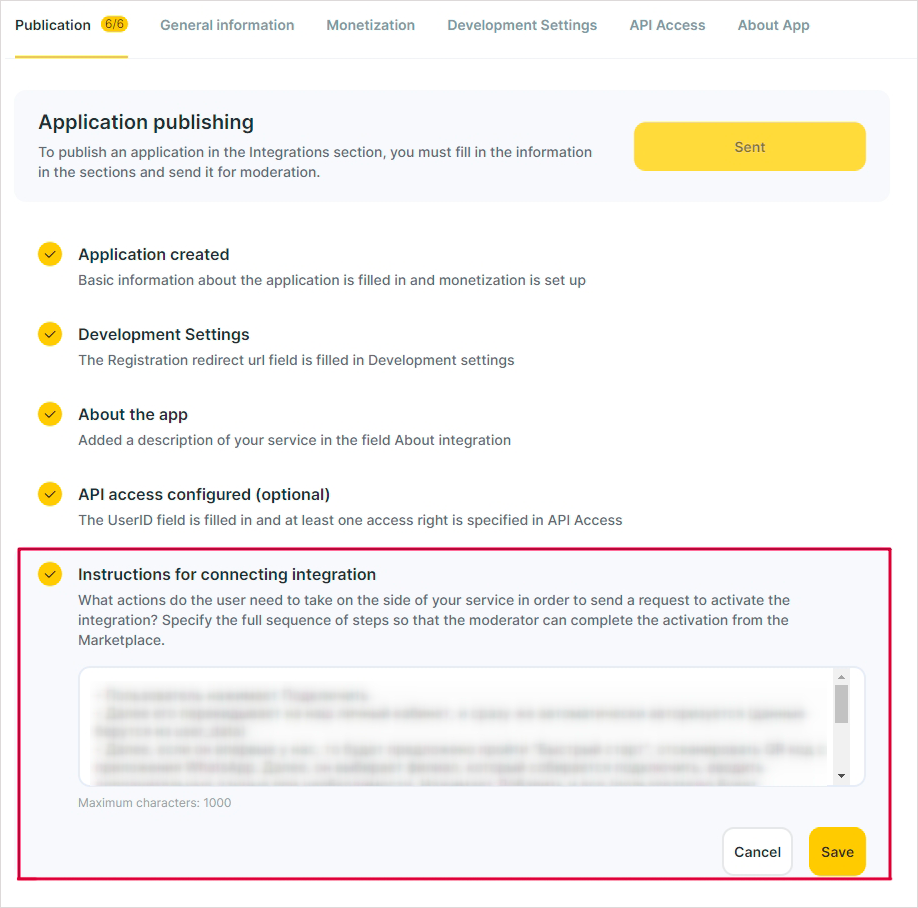
An example of filling in the instructions for connection
Instructions for payment for integration
In order for this item to be considered completed, you need to click on the “Add” button and fill in the instruction in the text field. After filling, save the changes. Without this information, it will be difficult for the moderator to understand what actions need to be taken to verify the payment for the integration, so the more accurate the instruction, the faster the moderation will be. Information can also be changed after saving.
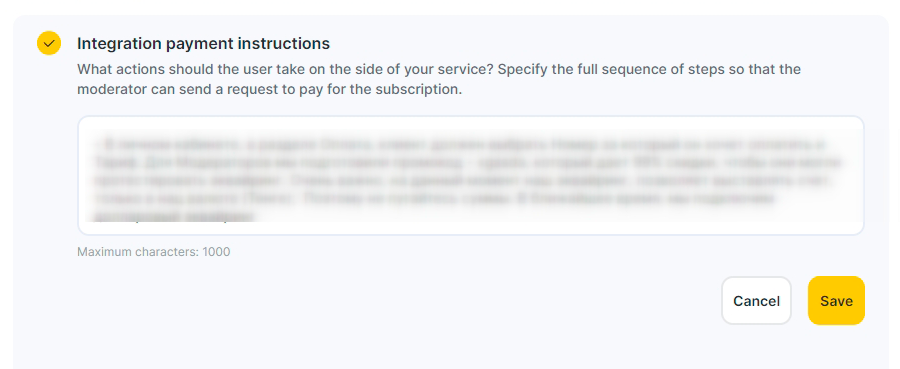
An example of filling out a payment instruction
Sending for moderation
After all the required fields are filled in, you can click on the “Send for moderation” button above the checklist.
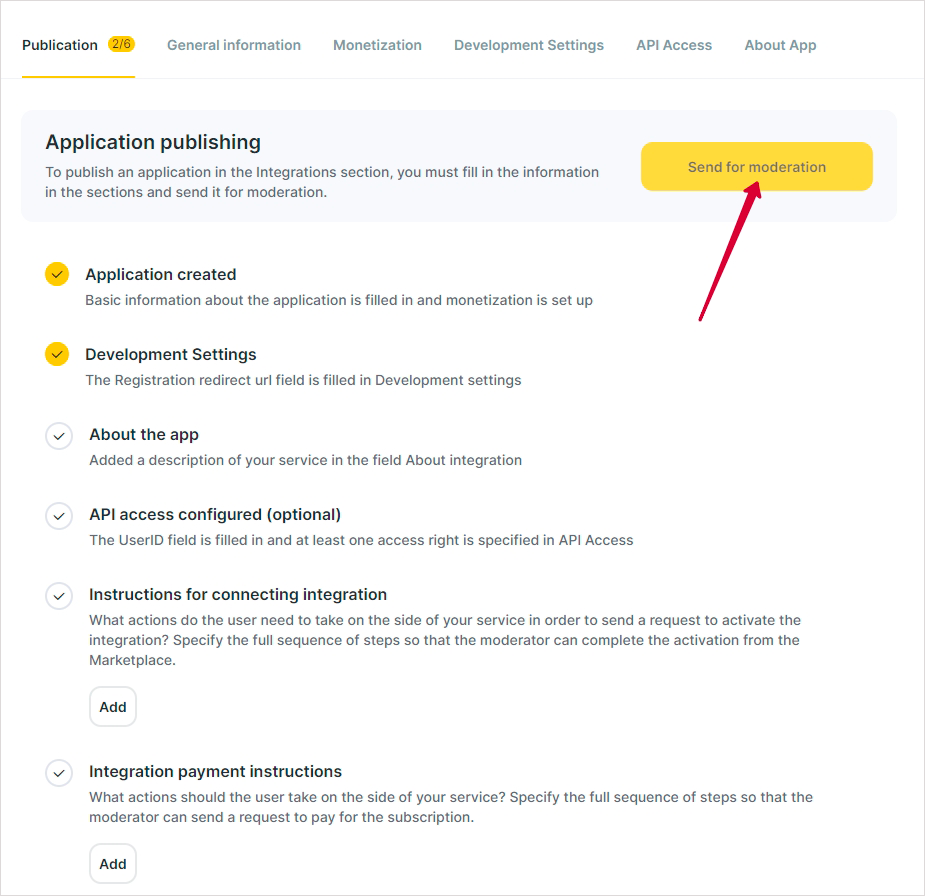
An example of a completed checklist and the “Send for moderation” button
After you send the App for moderation, its card appears in Developer Hub > Integration Shop > Publications, in the On moderation group. In Apps, the App stays in the Non-public group until it is published.
After moderation, the App is published in Integration Shop. The card moves to the Published group in Integration Shop > Publications, and the App moves to the Published group in Apps.