Resources will be booked for appointments only if they are linked to services.
You can link resources to services in two ways:
- in the Services section;
- in the Resources section.
The first method is more convenient if you need to link several resources to one service, and the second — if you need to link several services to one resource.
Linking resources via service settings
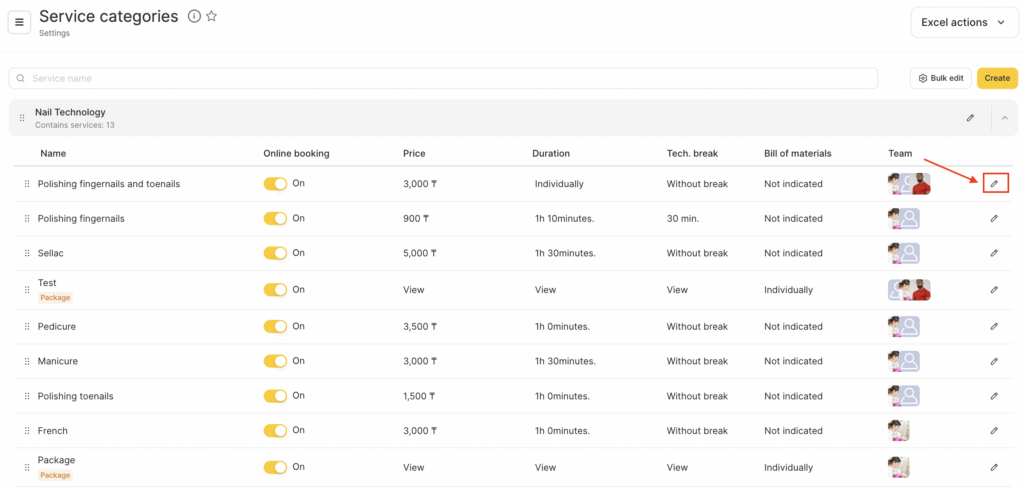
- Go to Services, and click the folder with the category name. A list of services will open.
- Click the name of the service you want to link a resource to, or the edit button for that service.
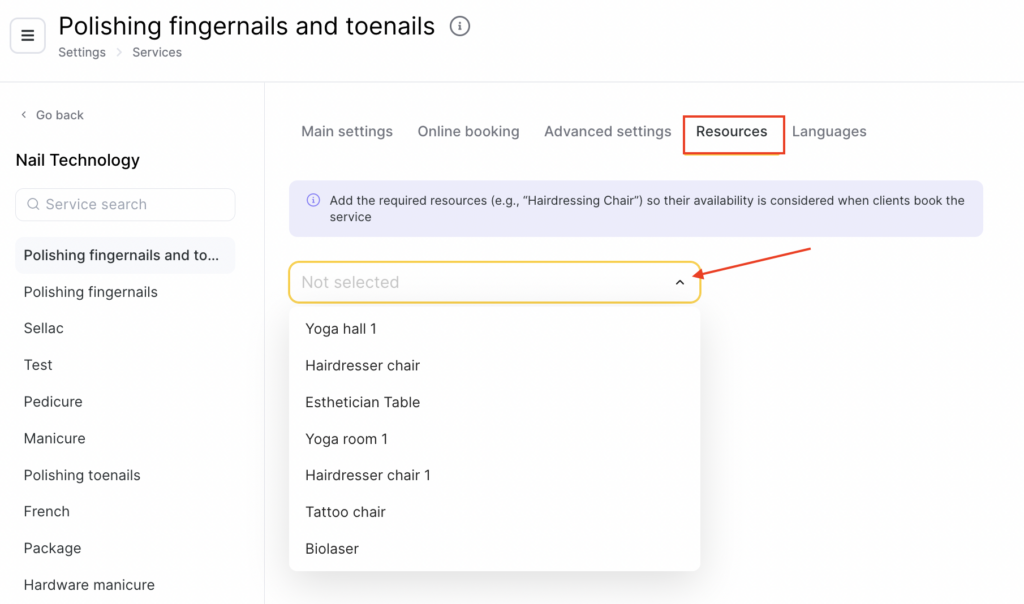
- Go to the Resources tab.
- From the drop-down list, select the required resource and click Save.
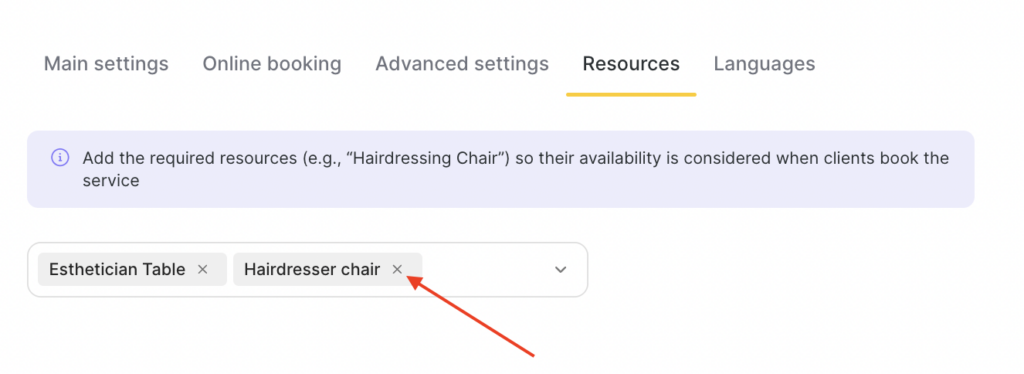
You can link multiple resources to a service — to do this, check the boxes next to the required resources in the drop-down list.
To unlink a resource from a service, click the cross next to the resource name or click the resource name in the drop-down list, and then click Save.
Linking services via resource settings
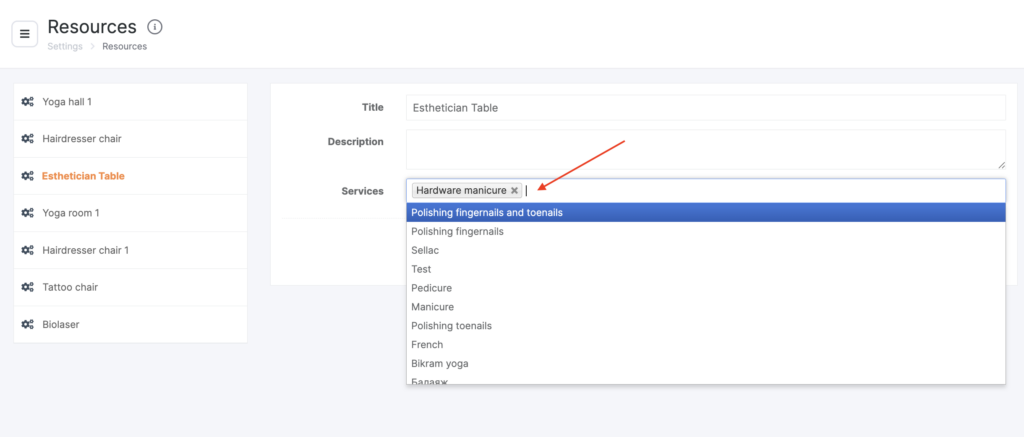
- Go to Resources section.
- Сlick Edit next to the name of the resource you want to link services to.

- In the Services field, select the required service from the list and click Save. For easier search, you can start typing the service name.
Services are added one by one. To add another service, click the services field again and choose the next one from the list.
To remove a linked service, click the cross next to its name and then click Save.

Note
When a client independently books online for a service that has resources linked to it, one available instance of each linked resource is booked by default.