
Resources are a powerful feature in Altegio that help ensure that appointments are organized efficiently and without conflicts.
Resources examples: hair dryers, massage room, blending shears, etc.
By assigning resources to services, such as rooms or massage tables, you can prevent situations where multiple clients book the same service at the same time, only to find that the necessary resources are already occupied.
When a client makes a booking online for a service that requires resources, the system automatically reserves an unoccupied instance of each resource for that appointment. To achieve this resources must be added and set up.
Creating a new resource #
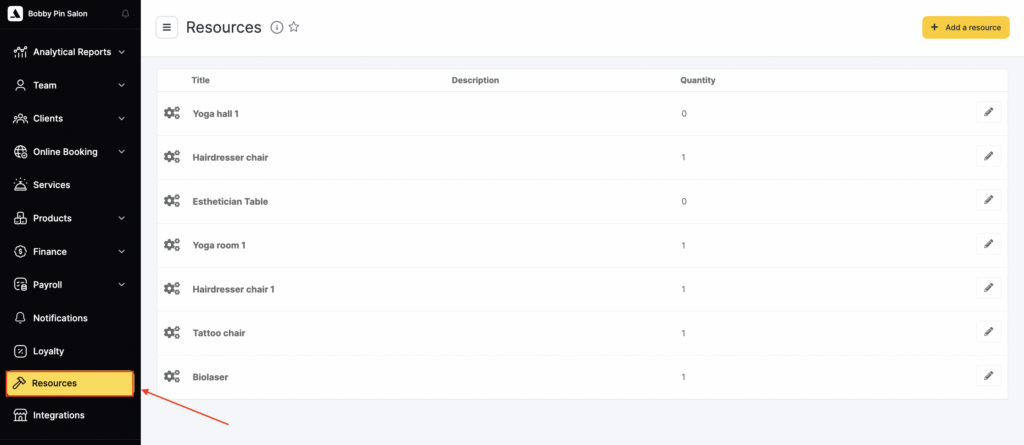
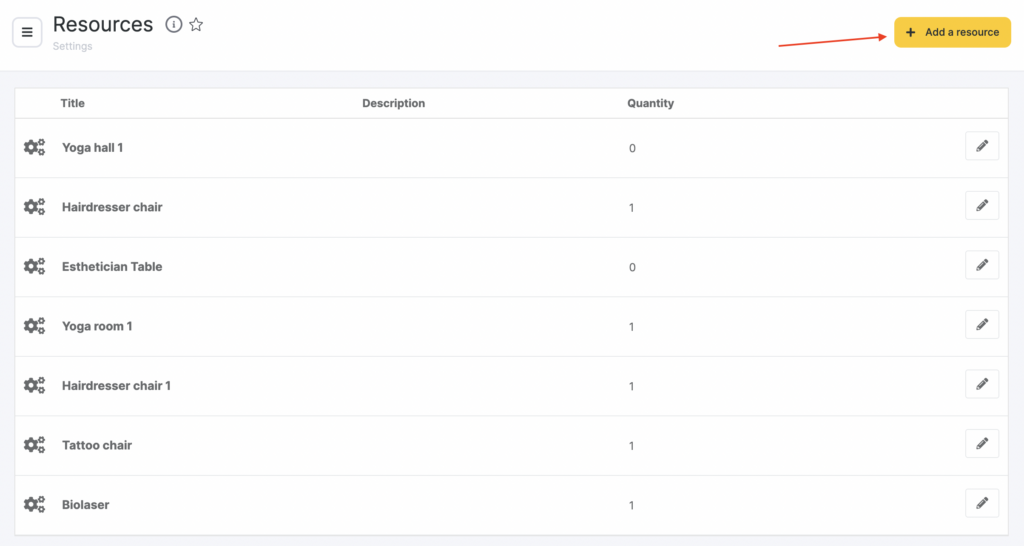
- Open the main menu and go to Resources section (Administration mode) and click the Add a resource button.
- Enter the name of the resource and add a description if needed.
- Assign the resource to the services by selecting the services from the Services section.
- Save your changes by clicking the Save button.
To edit a resource click the Edit button. Resources will be automatically reserved for an appointment only if they are assigned to services beforehand.
- After your resources are created and configured, assign them to the appropriate services (read about this in detail in the Assigning resources to services article).
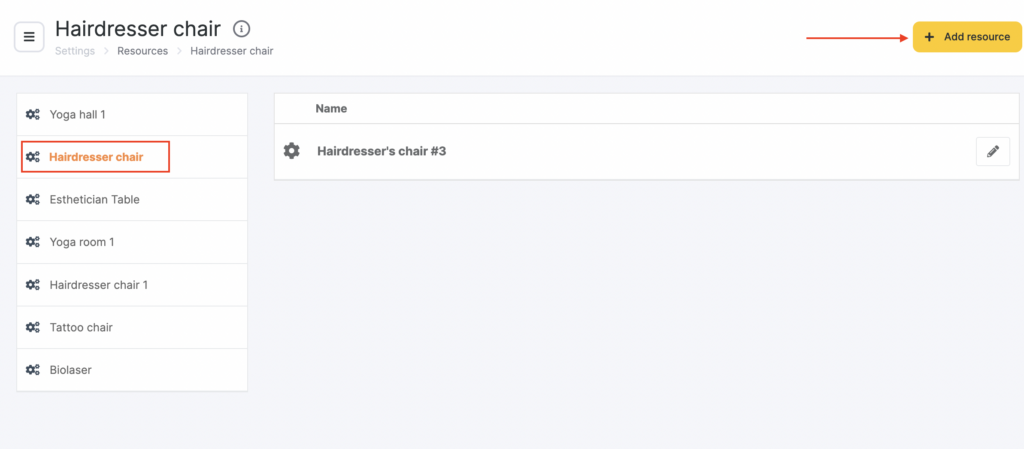
Creating a resource instance #
You can create multiple instances for a single resource. To add an instance to an existing resource:
- Click on its name in the list.
- In the new window that opens, click the Add resource button.
- After that, a new window will open where you can set the resource instance name and click Save.
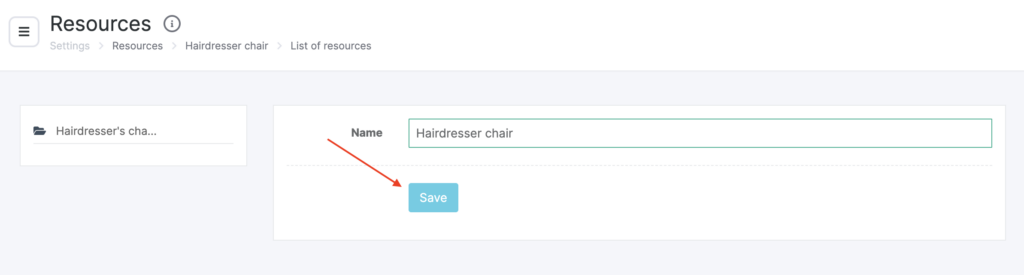
- To edit a resource instance, click the Edit button.

Resources will be booked during appointments only if they are linked to services.
- Once resources have been added and configured, attach them to the relevant services if they were not linked during creation (these settings are described in more detail in the article Assigning Resources to Services).
Important
New resources are not added automatically to appointments and events that were created before the resource was created; they must be added manually.

