On the last tab in the team member’s profile, set the additional settings. To do this:
- Go to Team > Team members list (Administration mode).
- Select the team member, click their name, and open the Settings tab.
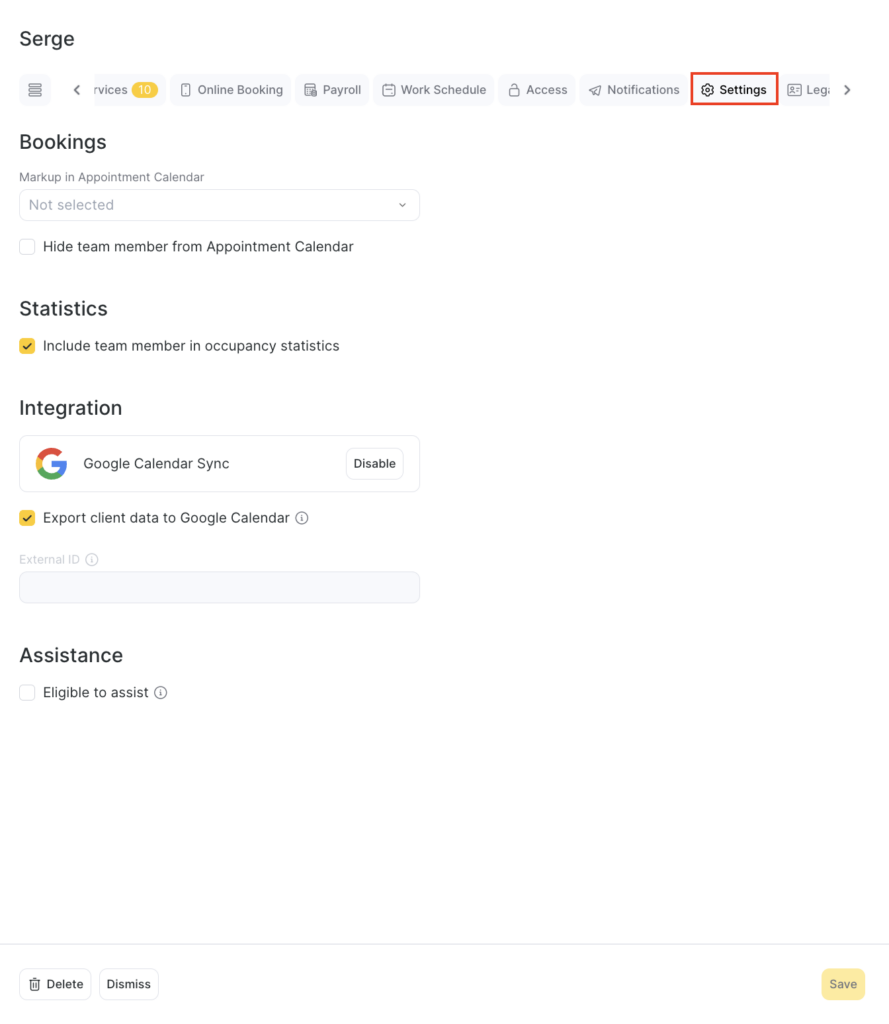
Bookings section
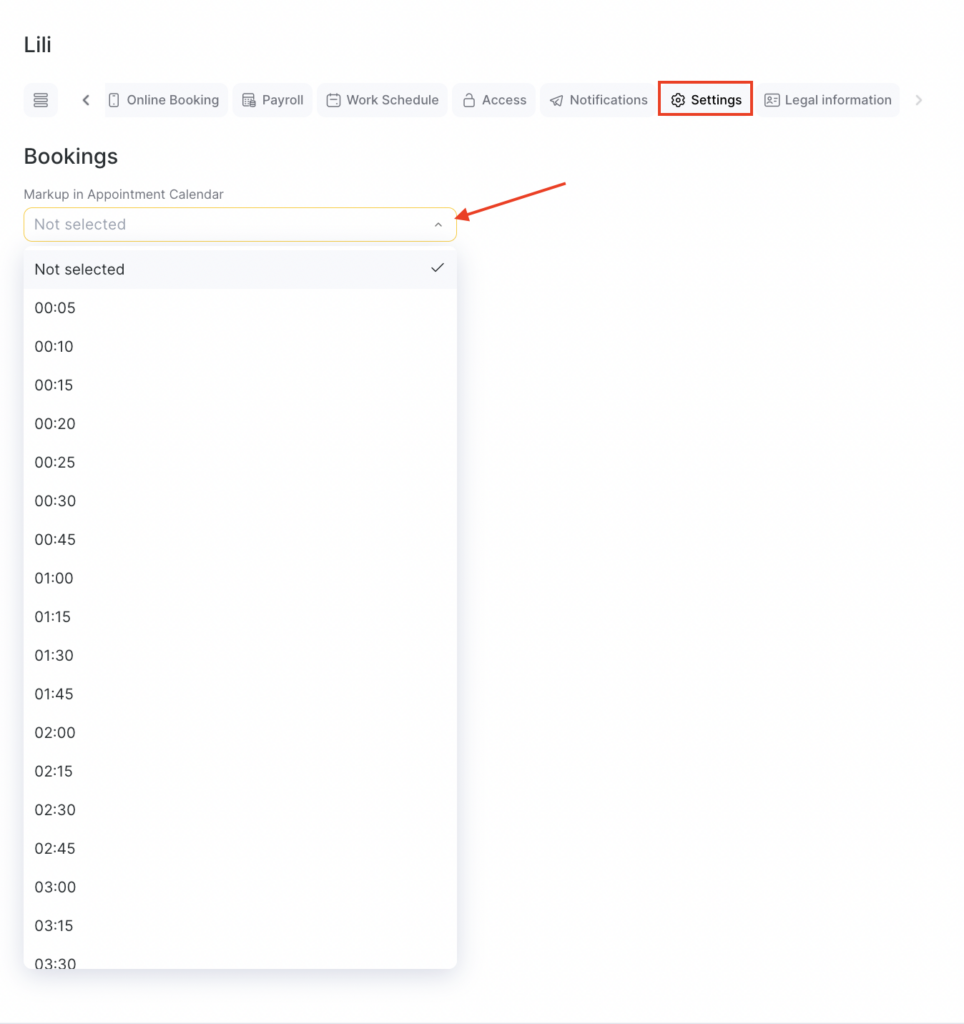
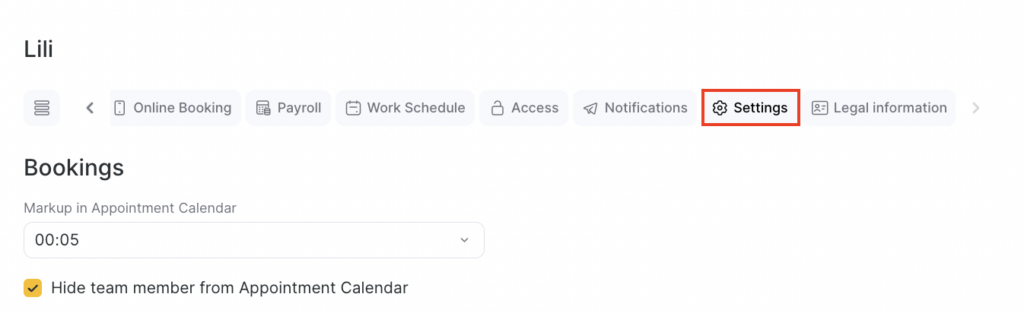
In the Bookings section, you can add time grid markers in the appointment calendar. They help visually divide the day into intervals. This grid is needed so a receptionist can schedule clients as efficiently as possible.
Typically, the grid in the booking journal is set based on the duration of the most popular and most profitable service, and the team member’s entire schedule is adjusted around this service so that as many appointments as possible can be created for it.
You can also disable showing the team member in the appointment calendar by checking Hide team member from Appointment Calendar.
Statistics block
In the Statistics block, if you check Include team member in occupancy, this team member’s stats will affect the overall occupancy percentage in the Analytics section.
Integration block
- In the Integration block, enable appointment synchronization with Google Calendar (how to connect and set it up is described here).
- If you uncheck Export client data to Google Calendar, clients’ contact details will not be synced to Google Calendar—only their names will be shown.
- Also specify the Team member identifier in an external system. The entered identifier will be sent to external systems as part of the appointment parameters.
Assistance section
In the Assisting block, check Available for assisting. This will allow the team member to help provide services and be included in the assisting reward calculation, if this is enabled in the payroll settings.