After editing general and additional information about your employees, you can add individual settings.
Editing #
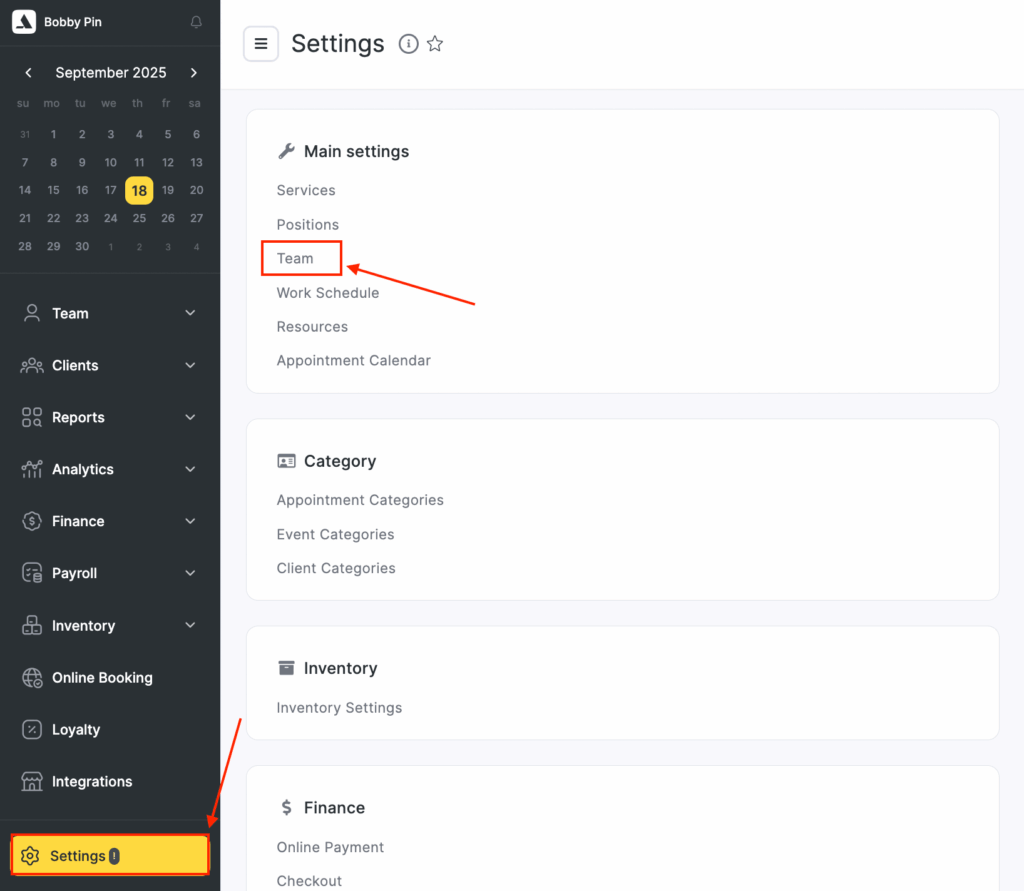
1. Go to the Settings > Main Settings > Team section.

2. Select an employee by clicking their name.

3. In the Settings tab, edit all the information.
4. Don’t forget to click the Save button.
Booking #
1. Disabling online booking for an employee will prevent clients from booking appointments with them online. However, the employee’s work schedule will still be available in the Appointment Calendar, and administrators will be able to book appointments for clients who contact them directly.
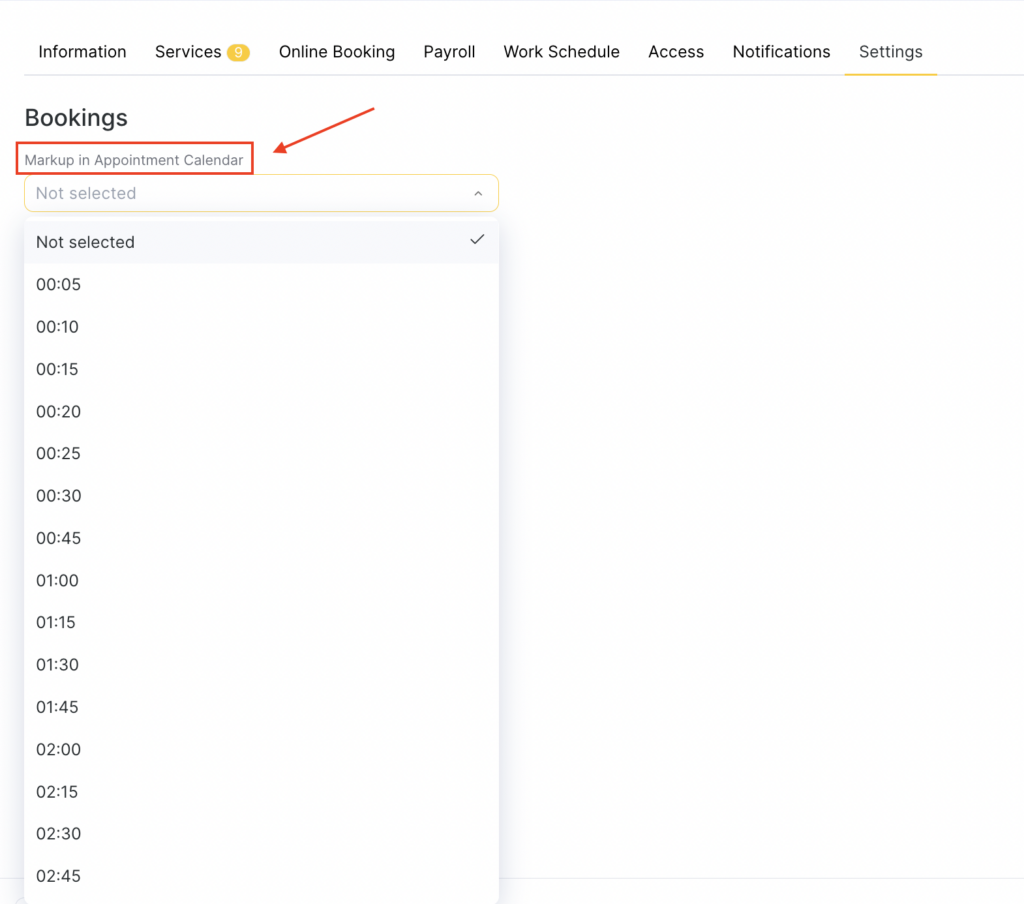
2. To more clearly divide the workday into intervals in the Appointment Calendar, you can enable Мarkup in Appointment Calendar settings.

Statistics #
If checked, the Occupancy rate of this employee will affect the overall occupancy rate in the Analytics section.

Integration #
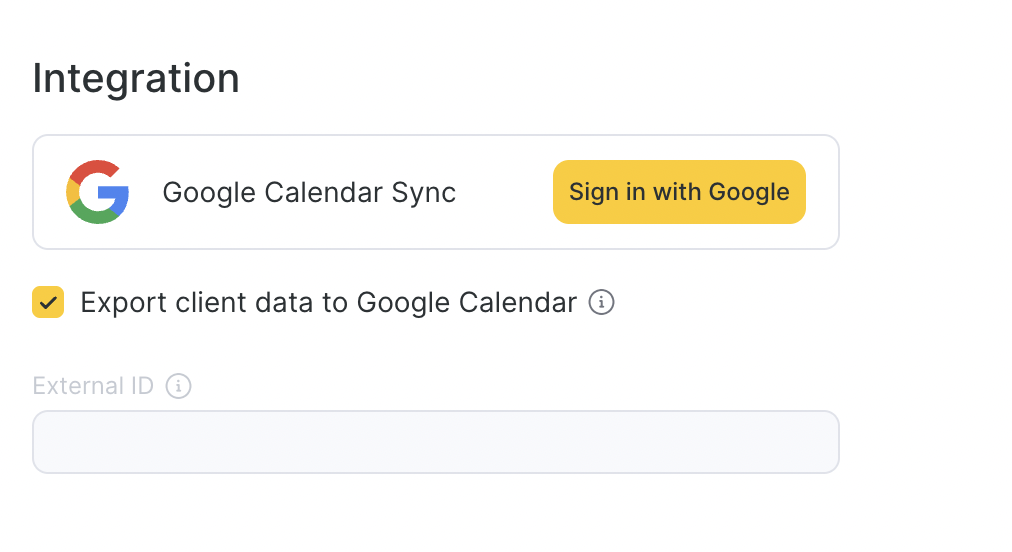
1. You can connect your Google Calendar to Altegio to synchronize appointments between the two calendars (read about connecting Google Calendar here).
2. By unchecking the “Export client contacts to Google Calendar” option, you can ensure that only client names are displayed in your synced Google Calendar.3. If you need to transmit an employee’s ID to an external system, you can specify an External ID for the staff member in Altegio. This ID will be included in booking parameters sent to external systems.

Assistance #
The Assistance section defines whether a team member can participate in service delivery as an assistant and whether they should be included in payroll calculations related to assistance work.

Enable this option if the team member can take part in services as an assistant (for example, in 4-hands procedures, complex treatments, or services requiring additional team).
When enabled:
- The team member becomes available to be assigned as an assistant in appointments.
- Their participation will be factored into assistance compensation calculations if this feature is activated in your Payroll settings.
- The system will correctly track and attribute assistant work for reporting and payouts.
If the checkbox is disabled, the professional will not appear in the assistant selection list, and their assistance work will not be included in compensation reports.


