
After adding your Services add and edit information about the company’s team members. A team member is any worker who provides services or performs any actions.
In the Altegio system, a team member does not necessarily have to be a living person. The “team member” entity is what the client books when selecting a service. Team members can also include workstations, rooms, photo studios, car washes, saunas, etc., depending on your business area.
Add a new team member #
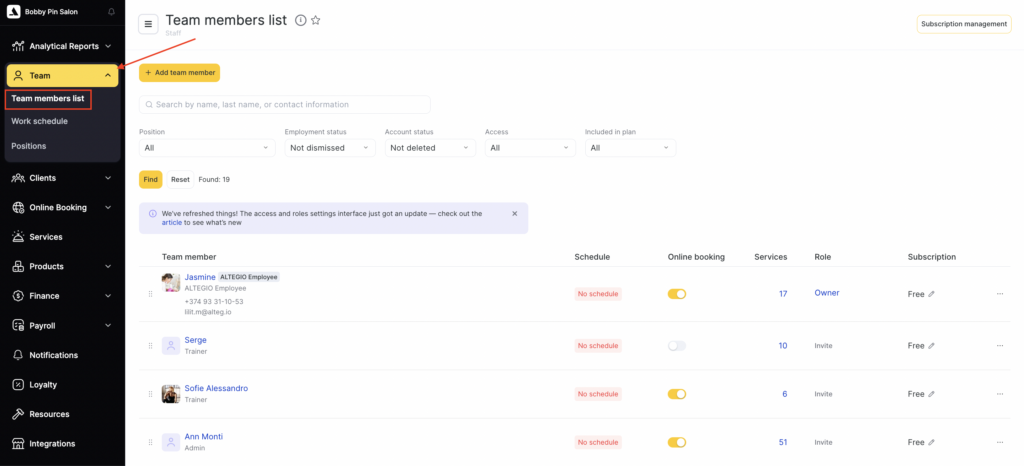
- To add a new team member, go to Team > Team members list and click Add team member (top-left).
- In the Add new team member window and fill in:
- Name
- Specialization (e.g., cosmetologist). The team member’s specialization will be visible to clients in the online booking.
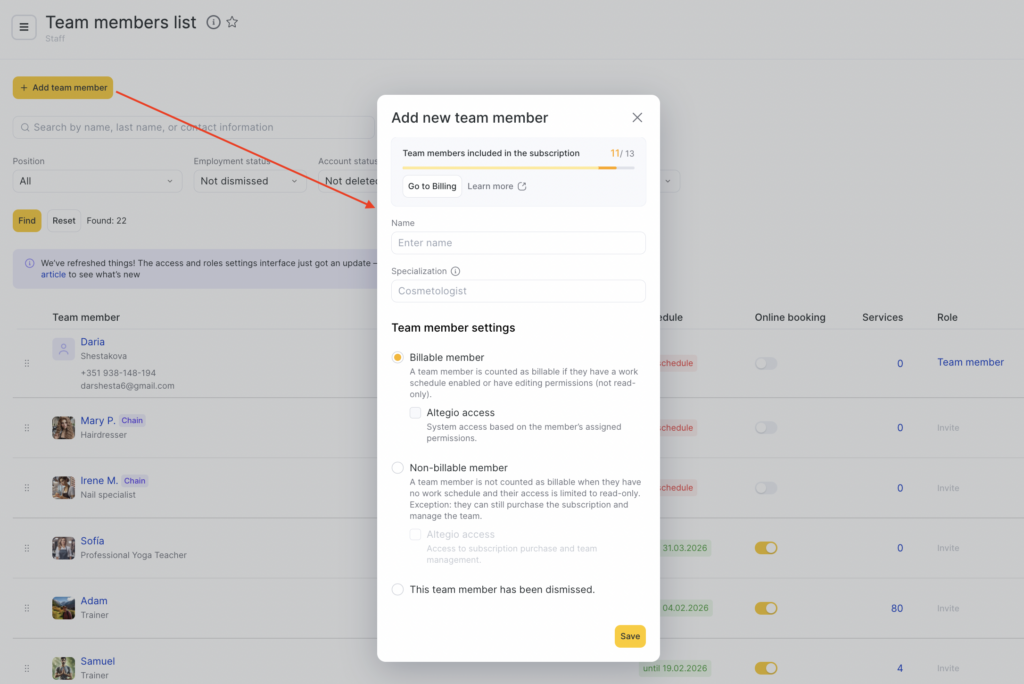
- Under Team member settings, choose one option:
- Billable team member. Choose this if the team member will be included in the schedule and/or needs editing permissions.Then enable Altegio access if they should be able to log in (their actual access will depend on the permissions you assign). Enter the phone number or email address where the team member will receive the invitation, and set the role.
Important
If you don’t have an SMS aggregator connected, the invitation won’t be delivered to a phone number. In this case, we recommend using an email address.
- Non-billable team member. Choose this if the team member is not included in the schedule and only needs view-only access in the system and/or team & subscription management. They won’t be counted in the subscription limit. Then enable Altegio access if they should be able to log in (their actual access will depend on the permissions you assign). Enter the phone number or email address where the team member will receive the invitation, and set the role.
Important
If you don’t have an SMS aggregator connected, the invitation won’t be delivered to a phone number. In this case, we recommend using an email address.
A non-billable team member can be assigned one of these access levels: Read-only or System Manager.
- The team member has been dismissed. Choose this if the person no longer works with you (their access will be disabled).
- Click Save.
Editing #
To enter the main details about team member:
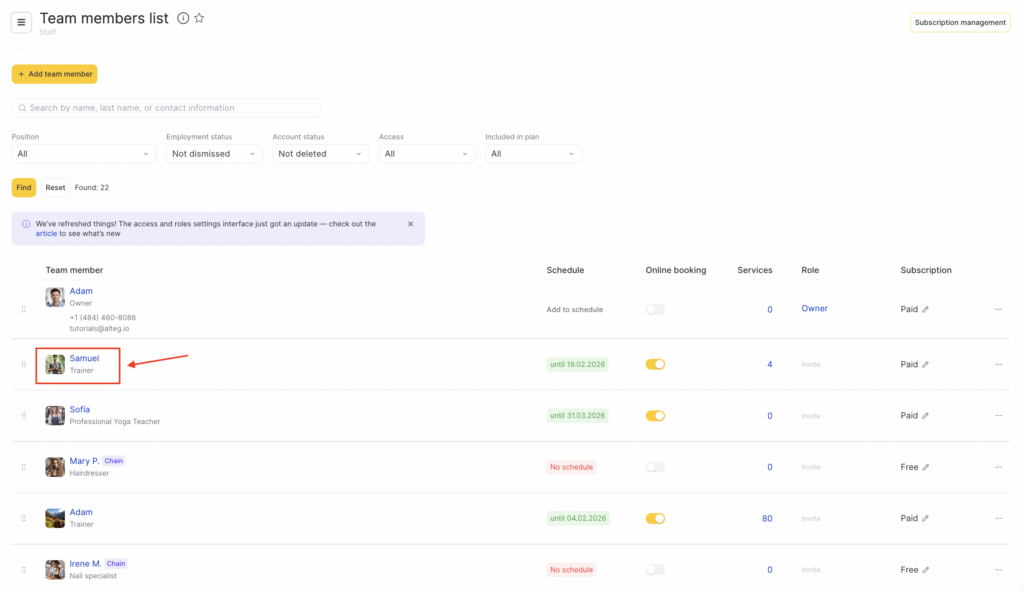
- Click the name of the team member in the team members list.
- On the Information tab you can edit basic team member information such as name, job title, specialization, contact information, and profile photo.
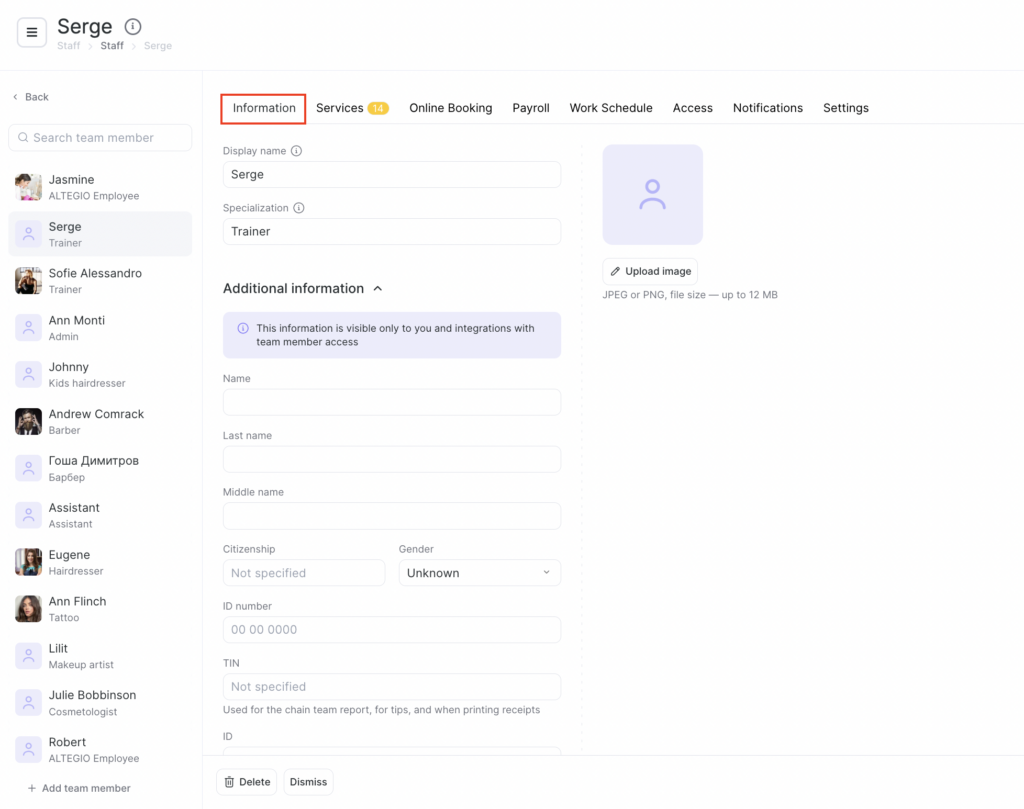
To upload a photo, click the Upload Image button under the person icon. You can zoom in, zoom out, and rotate the image left/right.
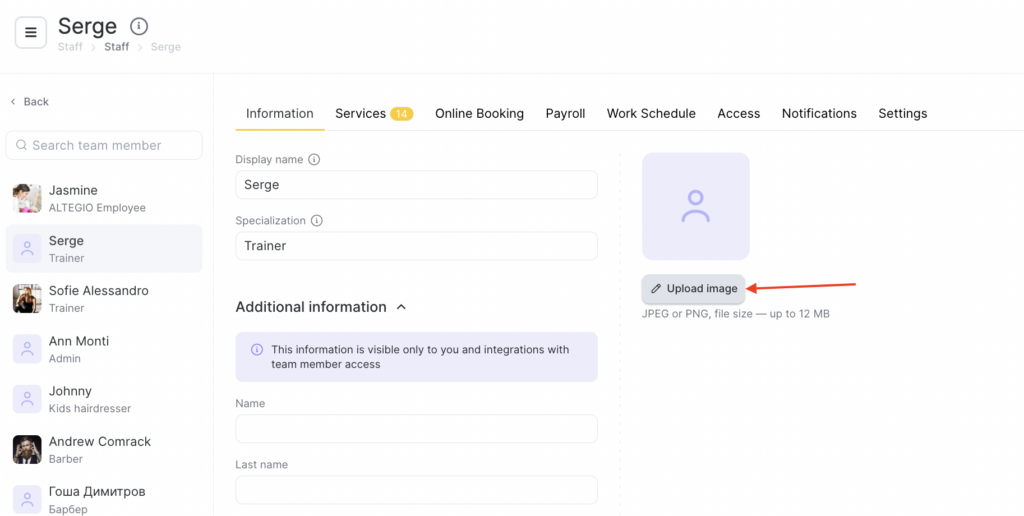
Recommended image size: 365 x 365 px, maximum file size: 12 MB.
High-quality, professional photos are recommended; they help build trust with clients.

