
Altegio navigation has been updated to make daily work for receptionists, professionals and other team members faster and keep the interface cleaner. Altegio now has two separate work modes:
- Digital schedule
- Administration
Digital Schedule mode #
Use Digital Schedule when you work with the Appointment Calendar and day-to-day flow:
- viewing and managing appointments
- quick actions (payments, product sales, etc.)
- jumping to key sections via Favorites under the Calendar
Administration mode #
Use Administration to manage the business setup and everything beyond the calendar:

- clients list, reports, analytics
- team members and permissions
- services, products, inventory
- online booking configuration
- settings, integrations, finance rules, and more
Important
Available sections may depend on your role/permissions and your subscription plan. If you don’t see a menu item, it may be restricted for your account.
How to switch between Digital Schedule and Administration #
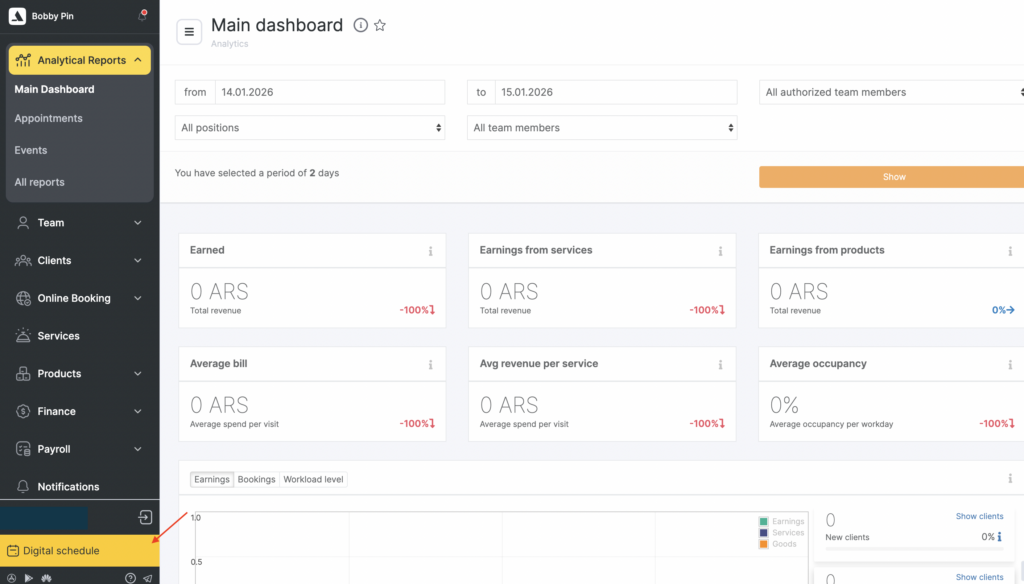
The switch is always available in the bottom-left area of the interface. To switch from Administration to Digital schedule mode:
- Open Administration (management panel).
- In the bottom-left corner, click Digital schedule.
To switch from Digital schedule to Administration mode:
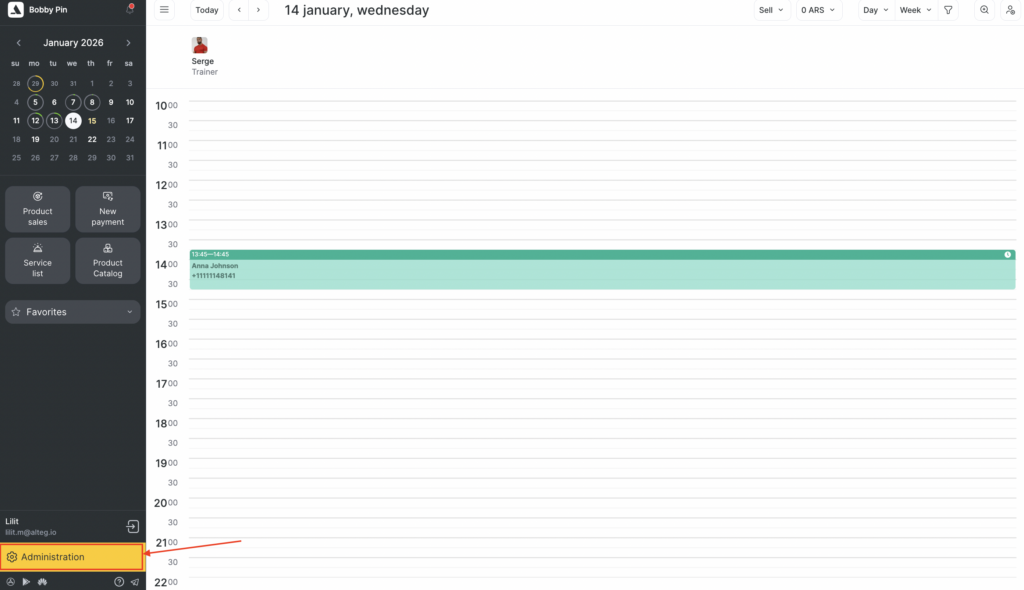
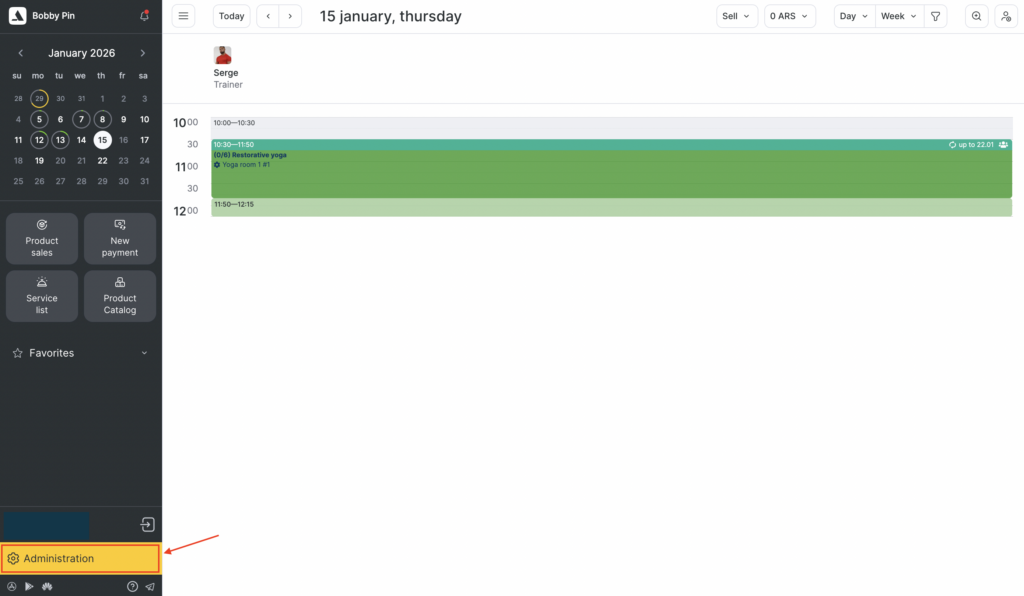
- Open Digital schedule (calendar).
- At the bottom, click Administration.
Note
The button label shows the mode you’ll switch to. If you see Digital schedule, you’re currently in Administration. If you see Administration, you’re currently in Digital Schedule.
How to use Digital Schedule mode (calendar workspace) #
In Digital schedule, the calendar is your main workspace. Under the calendar, you’ll also see:
- Quick actions (New payment, Product sales, Service list, Product catalog)
- Favorites — your pinned shortcuts to frequently used sections
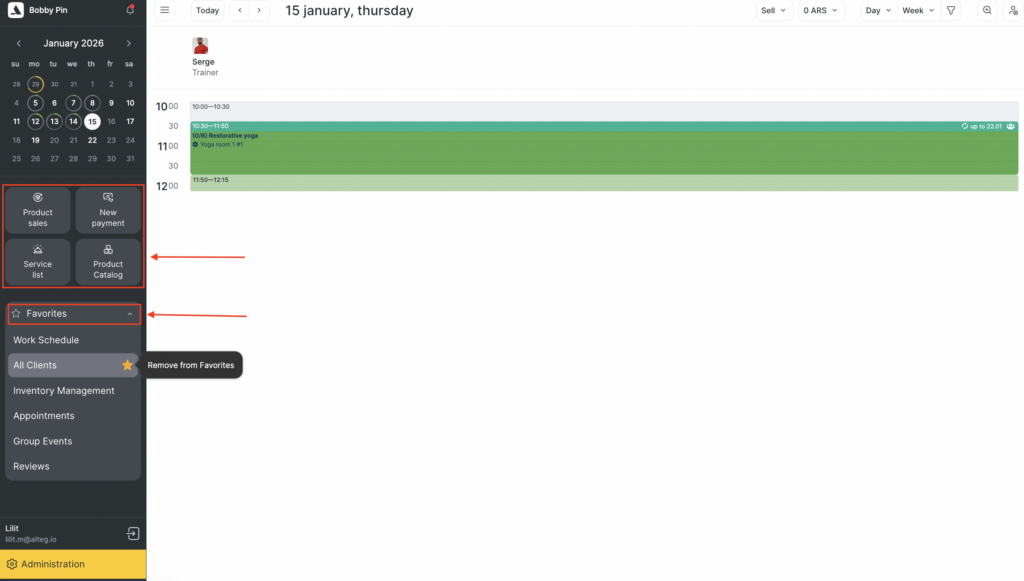
The Favorites section lets you pin your most-used sections so you can open them instantly from the panel under the calendar.
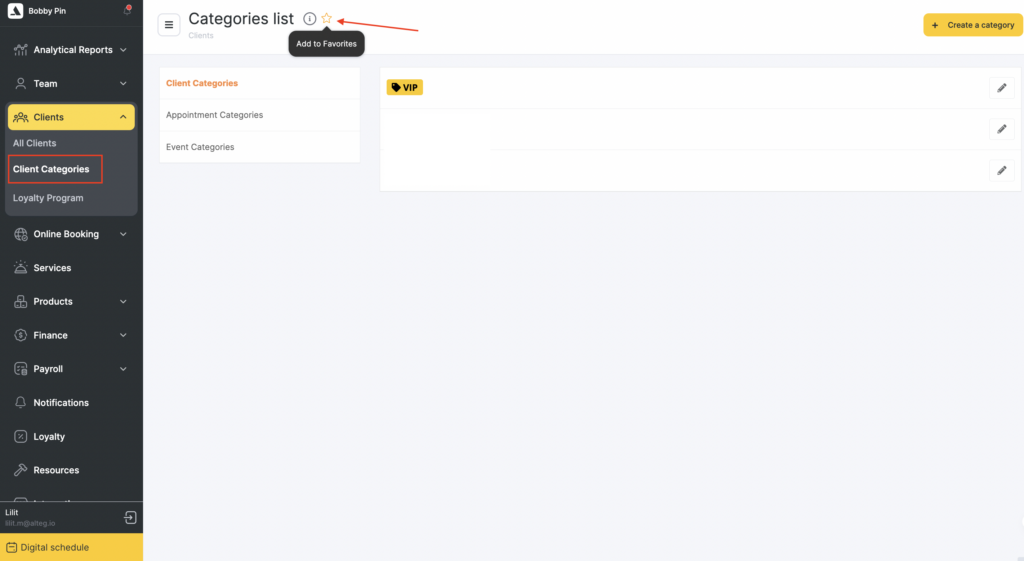
Adding section to Favorites #
To add a desired section to your Favorites open its main page and click the star icon next to section title.
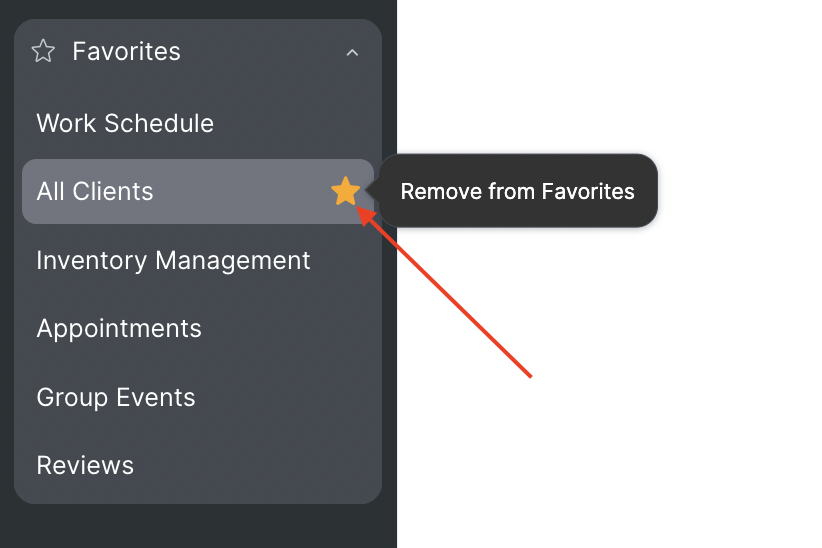
Removing section from Favorites #
- Open Favorites in Digital Schedule.
- Click the star next to the item you want to remove.
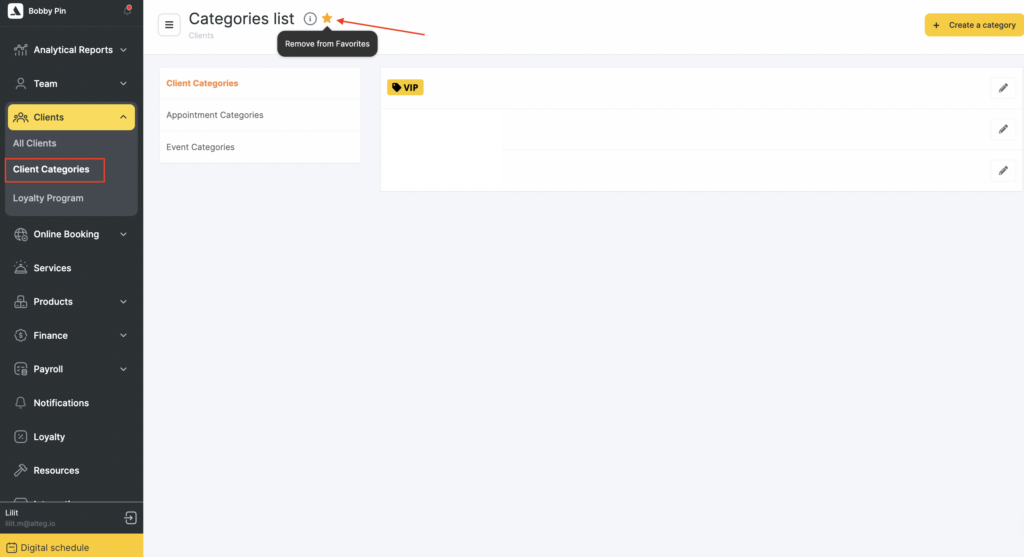
Alternatively, you can remove the section from its main page by clicking the star icon next to section title.
Settings #
The Settings section has been reorganized into clear groups for a faster configuration.
- Go to Administration > Settings.
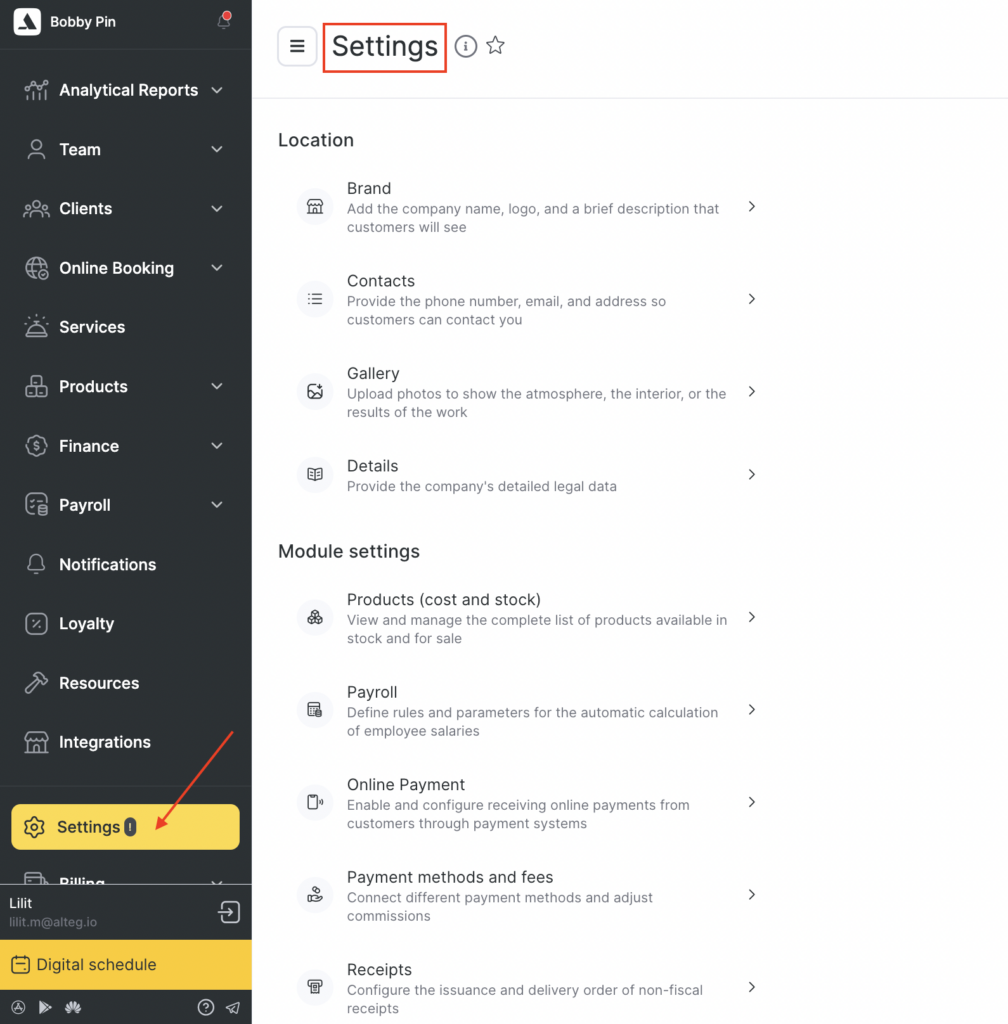
Settings groups #
Inside Settings, options are grouped into sections like:
Location
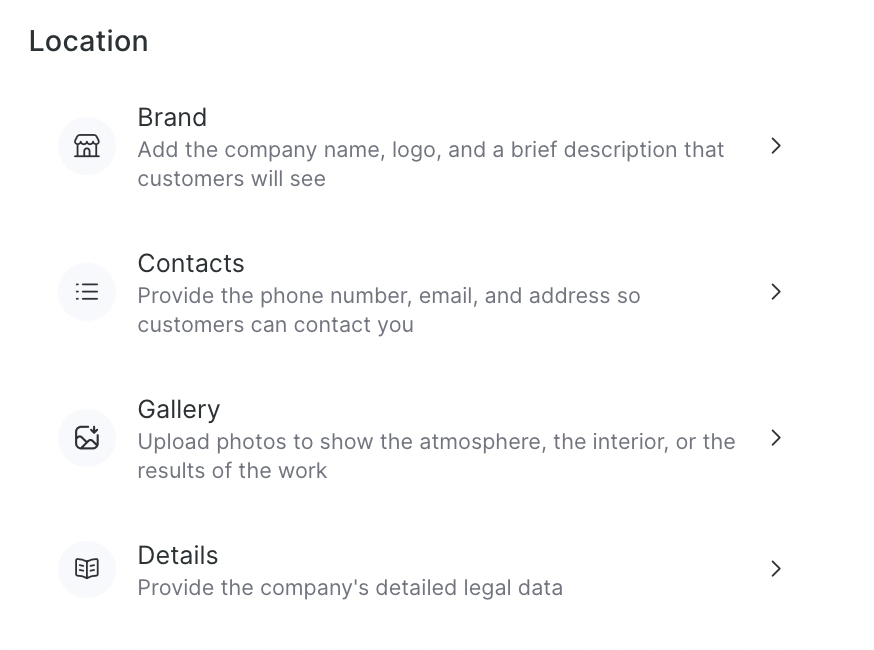
- Brand where you can add your company name, logo, short description shown to the clients.
- Contacts section where you can add phone number, email, address, map location as well as add social networks links.
- Gallery where you can add photos of interior atmosphere or professional’s work results.
- Details section where legal and company other details can be added.
Module settings
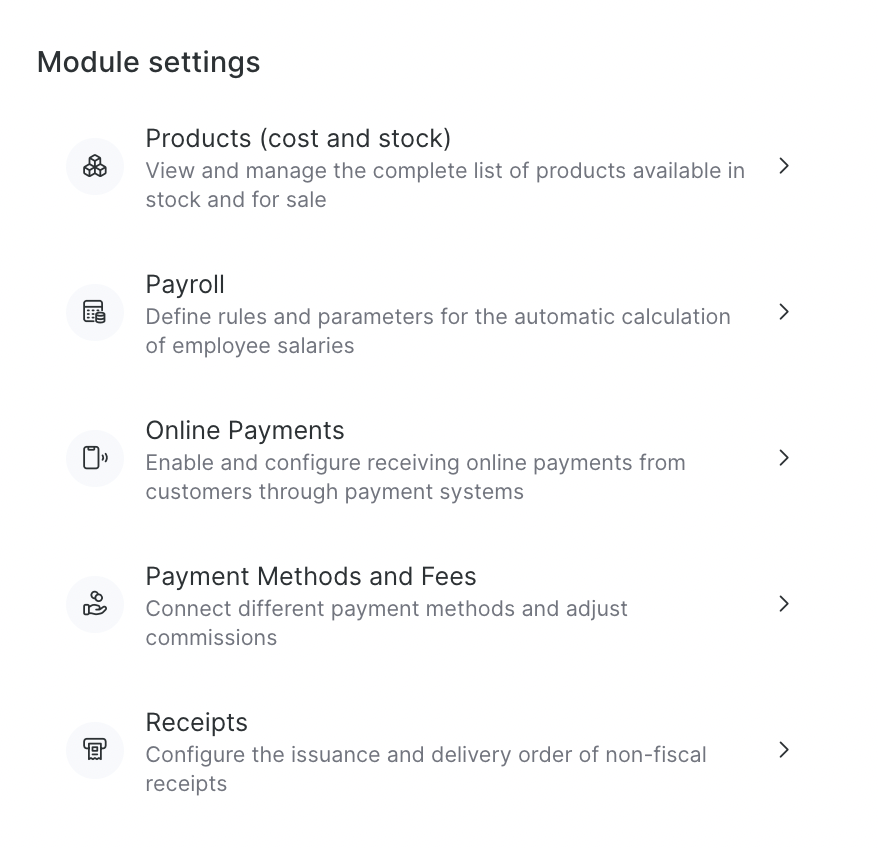
- Products (cost and stock) — product list, stock/sales settings
- Payroll — team members salary calculation rules and parameters
- Online Payments — enable and configure online payments
- Payment Methods and Fees — connect payment methods and set commissions
- Receipts — receipt issuance and delivery order
Category
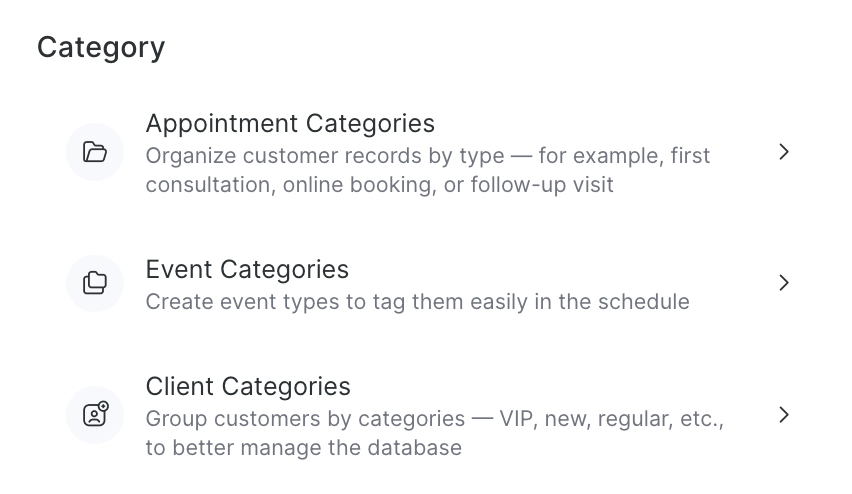
- Appointment Categories — organize appointments by type
- Event Categories — tags for schedule events
- Client Categories — group clients (VIP, new, regular, etc.)
System settings #
Use System settings to configure global company parameters and technical setup.
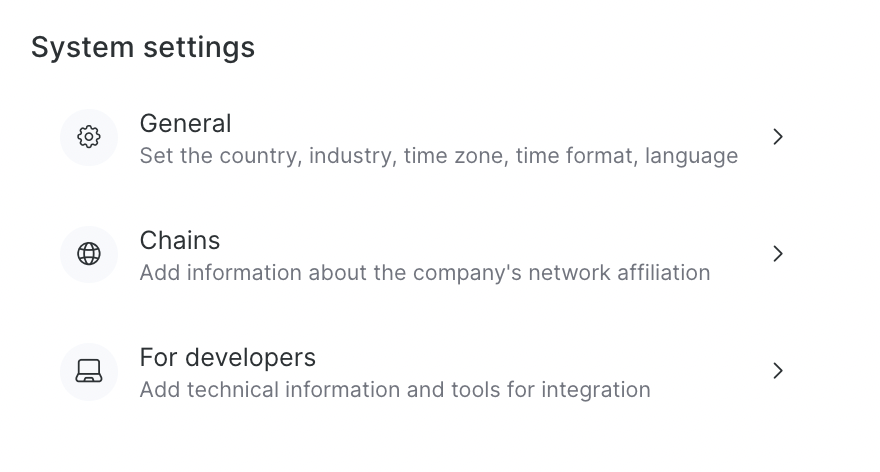
- General — country, industry, time zone, time format, and language. Read more in this article.
- Chains — company network affiliation (if you work as part of a chain/franchise)
- For developers — technical information and tools for integrations

