In this article, we’ll walk you through the process of setting up Facebook Pixel for your Altegio online booking widget and explain the events it tracks for detailed analytics.
Setting up Facebook Pixel #
To integrate Facebook Pixel with your Altegio online booking widget, follow these steps:
- Get Your Pixel ID:
- Log into your Facebook Business Manager account.
- Navigate to the “Pixels” section in the Events Manager.
- Copy your Facebook Pixel ID.
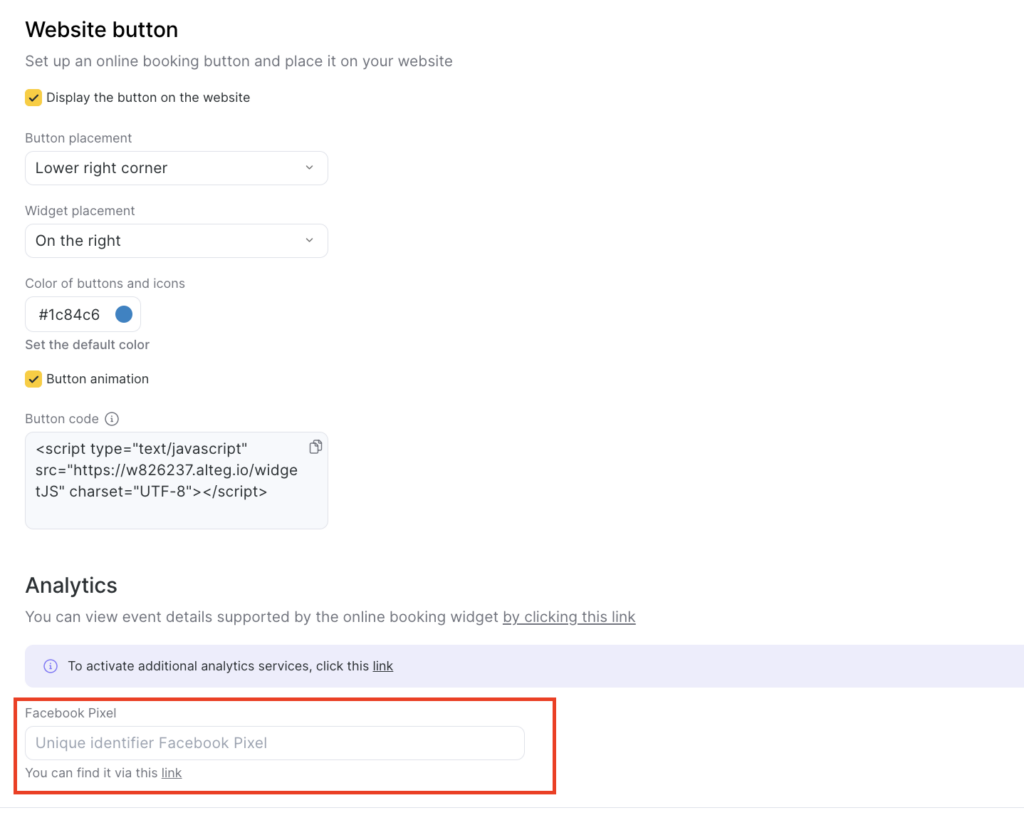
- Insert the Pixel ID into Altegio:
- Go to your Altegio account.
- In the widget settings, find the section to add your Facebook Pixel ID.
- Paste the Pixel ID into the designated field.
Once the Pixel ID is inserted, the integration is complete, and your widget will start sending data to Facebook for analytics and retargeting purposes.
Events tracked by Facebook Pixel #
Once the Facebook Pixel is set up, it will track various events related to your online booking widget. These events help you understand user behavior and improve your marketing efforts.
For a detailed list of events and descriptions, refer to the separate article “Description of events for analytics.”
How to use the data #
The data collected through Facebook Pixel helps you:
- Track conversion rates from ads to bookings.
- Retarget visitors who abandoned their booking process.
- Optimize ad campaigns based on user actions on your site.
By utilizing this data, you can improve your marketing strategies and gain deeper insights into customer behavior.