Altegio lets you work with product data, including purchasing, selling, write-offs, and more. In the system, you can create products, classify them, edit them, and delete them.
Setup and editing
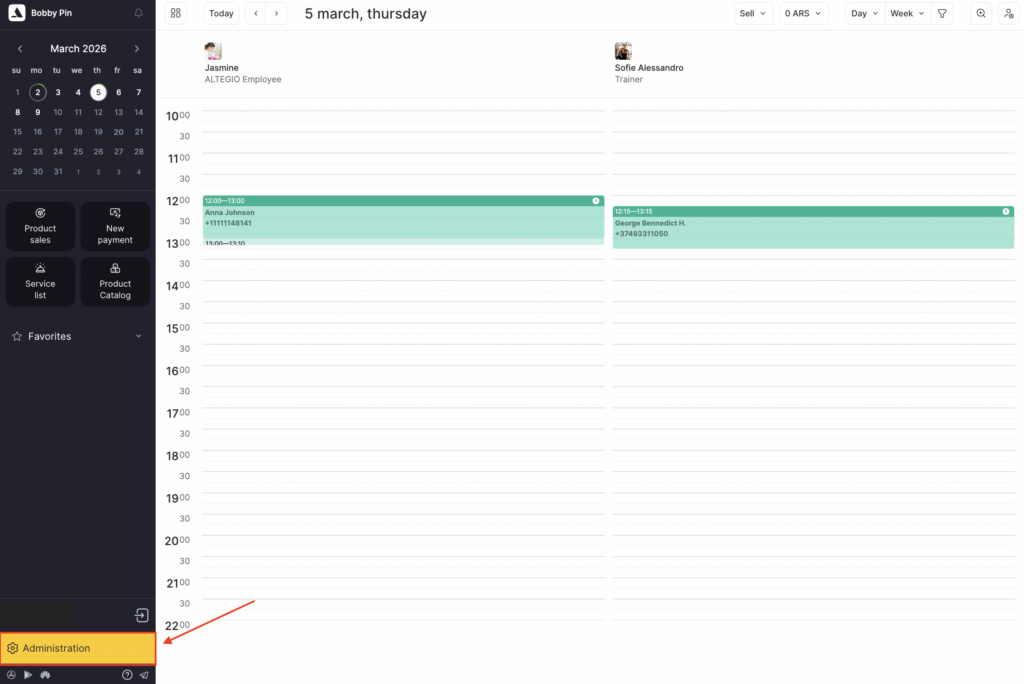
- First, go to Administration mode.
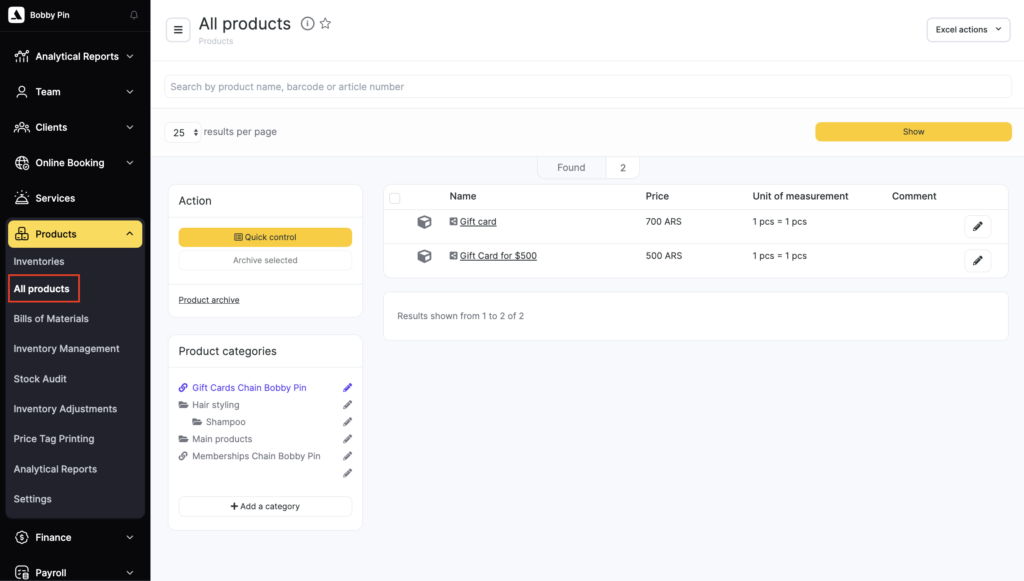
- Next, go to Products > All Products. Before adding products to an inventory, create and configure Product categories.
A category is a group of products that share common attributes. For example, the “ESTEL” category can include all ESTEL brand products, and the “Shampoos” category can include shampoos from different manufacturers, etc.
By default, Altegio has one category: Main products. Categories can be added, configured, archived, and deleted (see the Creating and setting up a new product category article for details).
- After creating and configuring categories, add products to warehouses. You can add products one by one or upload a list via Excel. For more details, see the articles Creating and setting up a new product and How to add a product list using Excel.
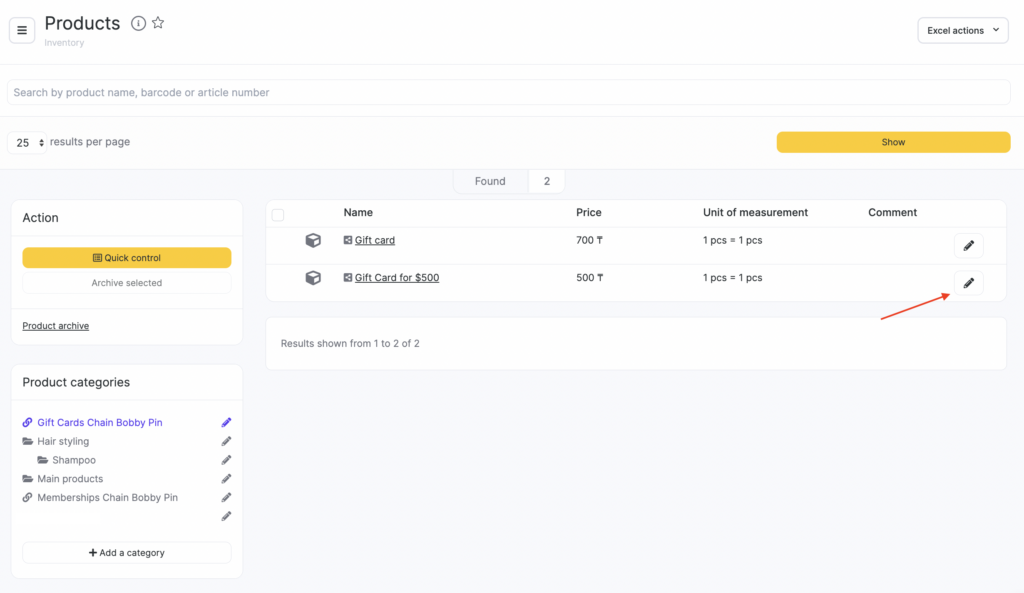
In Products > All Products, there is a quick search by product name, barcode, or SKU. Enter the details in the search field and click Show.

- To edit product information, open the product card by clicking the pencil icon or the product name.
In the product card, you can:
- edit product details,
- print a price tag (Price tag in PDF button),
- copy the product to other locations (if you have a chain),
- archive and/or delete the product card.
You can also open another product card by clicking the product name in the list on the left.
To edit multiple products at once, use the Quick management interface (see more details here).
Archiving products
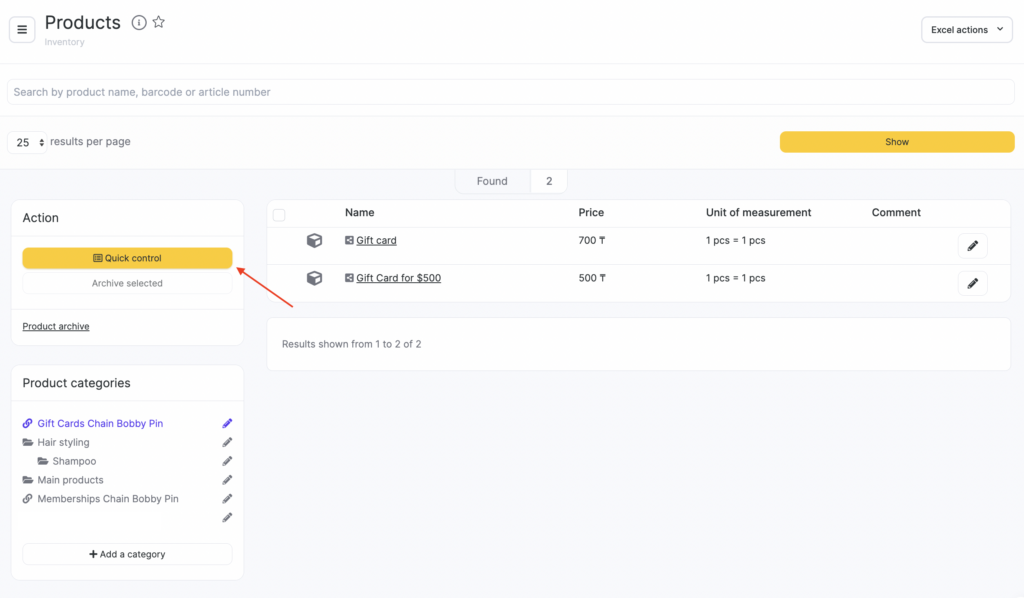
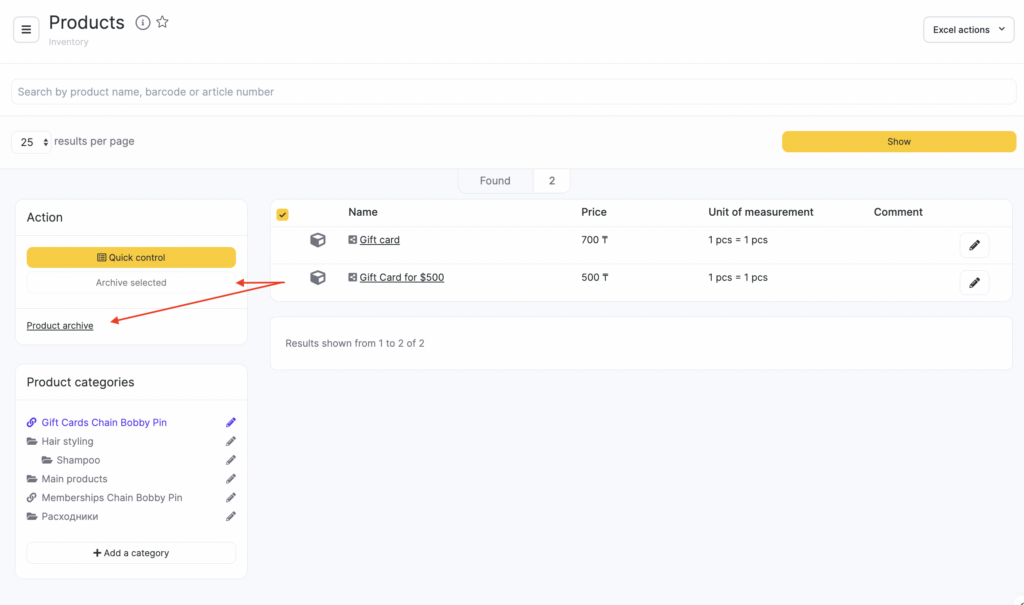
You can archive several products at the same time without opening each product card. Select the required products (check the box next to the name) and click Archive selected.
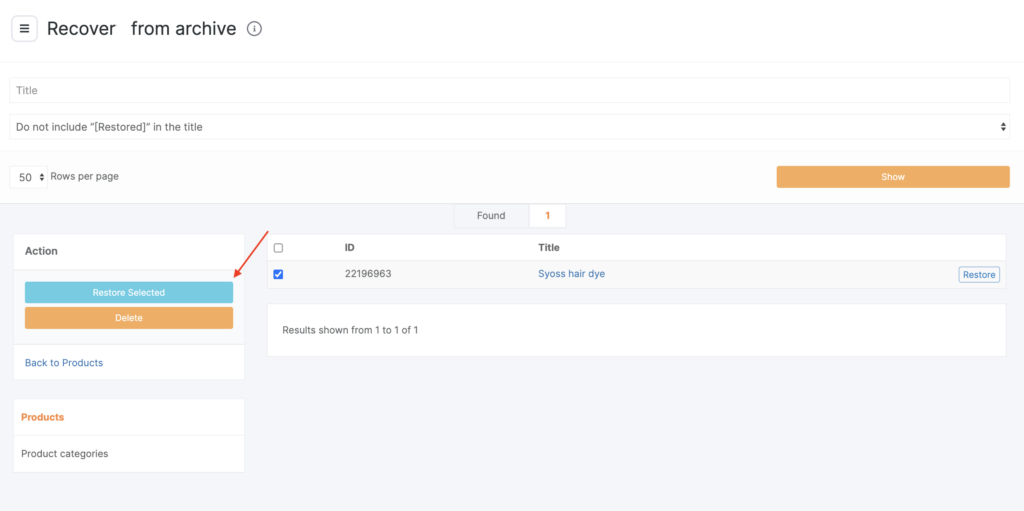
To view archived products, click Product archive.
In the archive, you can permanently delete products or restore them. If you accidentally deleted a product, contact Support to restore it.