After configuring services and filling in the Team section, assign team members or professionals to perform the services.
You can assign services to team members in two ways:
- In the Team section (Administration mode). This option is more convenient if your company has many services and few team members; it is described in the article at the link.
- In the Services section (Administration mode). This option is more convenient if your company has few services and many team members; it is described in this article.
Setup #
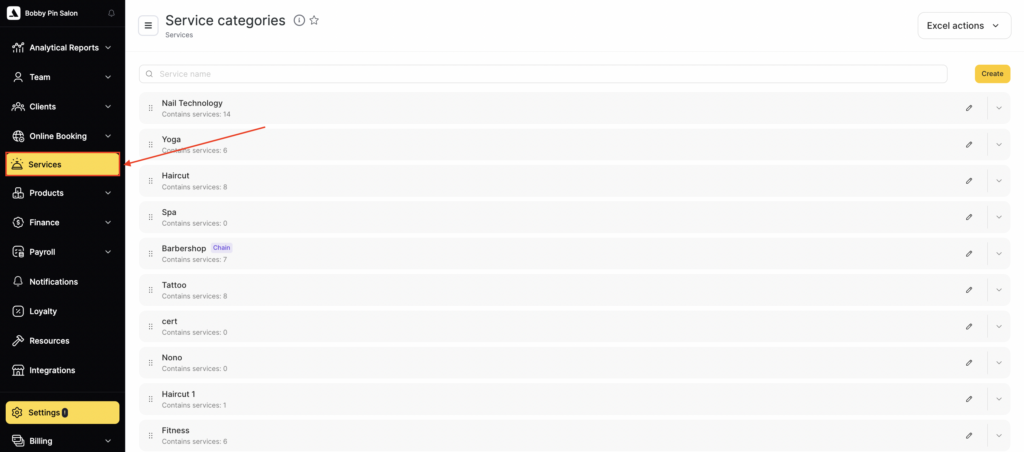
- To assign team members to a service, go to the main menu and open Services section (Administration mode).
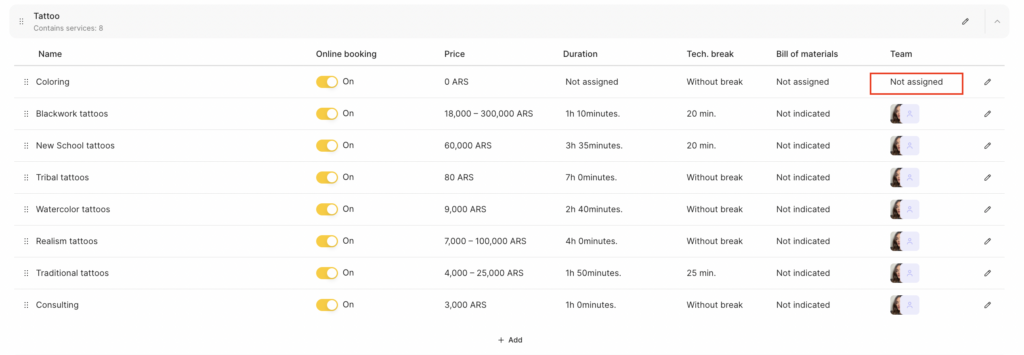
- Open the required category, select a service, and click on the team member’s photo or on the Not assigned button under the Team header. You can also click other Not assigned buttons.
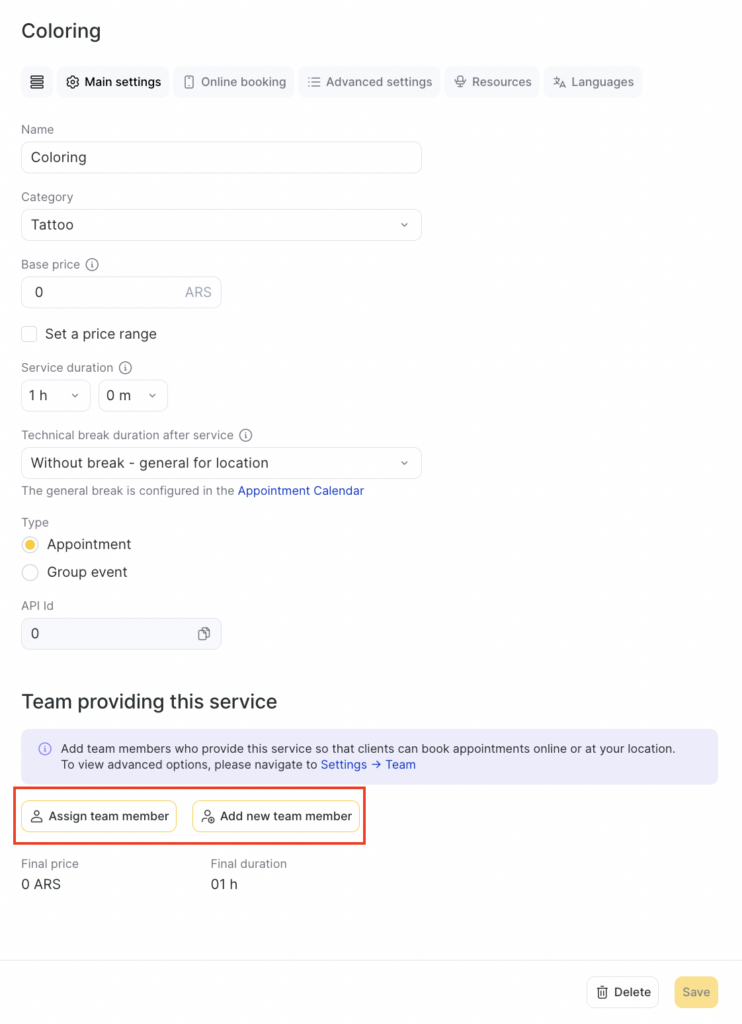
- In the new window, the Main settings tab will open by default. To assign a team member to the service, click the Assign team member button. (You can also create a new team member without leaving this section by clicking the Add new team member button.)
- In the same place, you can set an individual price for the service for that team member, which will differ from the default price. For more details, see the article.
- Select the team member’s Name from the list, specify the Duration of the service, and link a Bill of materials to the service (for more information about assigning and configuring bill of materials, see here).
- To remove a team member from performing this service, click the Delete (trash bin) button.
- Click Save to apply the changes.
Notes
Here you can assign several team members to one service.You must specify the service duration for online booking and for the receptionist’s Appointment Calendar. However, after an online booking is created, the receptionist can change the appointment duration directly in the Calendar.
Correctly configuring service duration helps organize the workflow and reduce the number of empty slots in the schedule, thereby increasing the number of clients who can be served in a working day.