
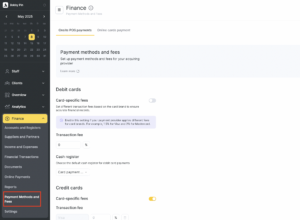
This section helps you define how payments are processed, where the money goes, and what fees apply to each method—whether it’s Visa, Mastercard, Pix, or other custom methods.
For beauty salons, this ensures smooth financial tracking across in-salon POS and online bookings.
Where to Find It #
Go to:
Finance → Payment Methods and Fees
You’ll see two tabs:
-
Onsite POS payments
-
Online cards payment
Debit Cards #
For payments made with debit cards.
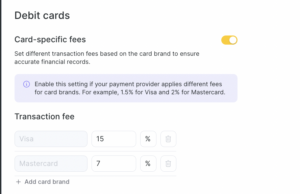
Toggle Card-specific fees ON if your provider charges different fees for brands like Visa or Mastercard. Set a general transaction fee (e.g., 1.5%) if all debit cards are treated the same. Assign a Cash Register so income from debit cards is correctly recorded in your system.
Credit Cards #
Customize how credit card transactions are handled.
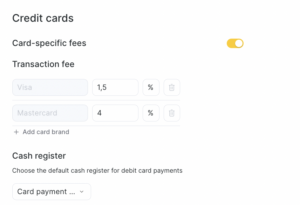
Enable Card-specific fees to define different rates per brand. Set separate fees for Visa, Mastercard, or others. Assign a Cash Register for these payments. Define Processing Time (e.g., 2 business days) so you know when money hits your account. Enable Installments if you allow clients to pay in parts (popular for packages or high-ticket services).
Custom Payment Methods (e.g., Pix, cash apps) #
Add any non-card payment method you accept.
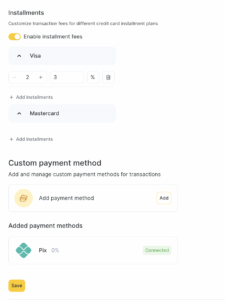
Click Add payment method
Enter name for it
Set fee if needed (or leave as 0%)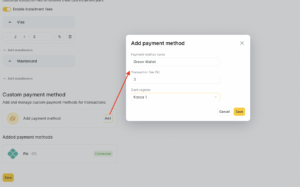
Save – it will show up below as “Connected”
Tip: Useful if you accept payments via local bank apps, QR codes, or wallet transfers.
Tab 2: Online Cards Payment #
This tab is for online card transactions, such as payments made during online booking. You don’t need to set fees here manually — they are automatically pulled in based on your payment system settings.
To configure this, click the “Go to settings” link or visit:
Online Payments Settings Article 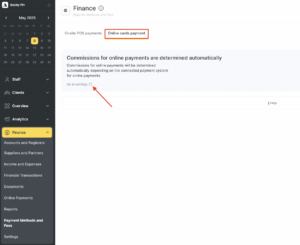
Why This Matters #
Keeps your income reports accurate Helps avoid confusion over fees and cash flow delays Ensures each payment method is tied to the right cash register Makes accounting easier for salon/spa owners, managers, or bookkeepers
How It Works in the Visit Window #
Once you’ve configured your payment methods and associated fees, this setup will also reflect in the Visit Window — but only for users who have the new version of it enabled. If you’re still using the older version, this display will not be available.
When using the new Visit Window:
Open any appointment.
Navigate to the Payment tab.
You’ll see all your configured payment options listed there.
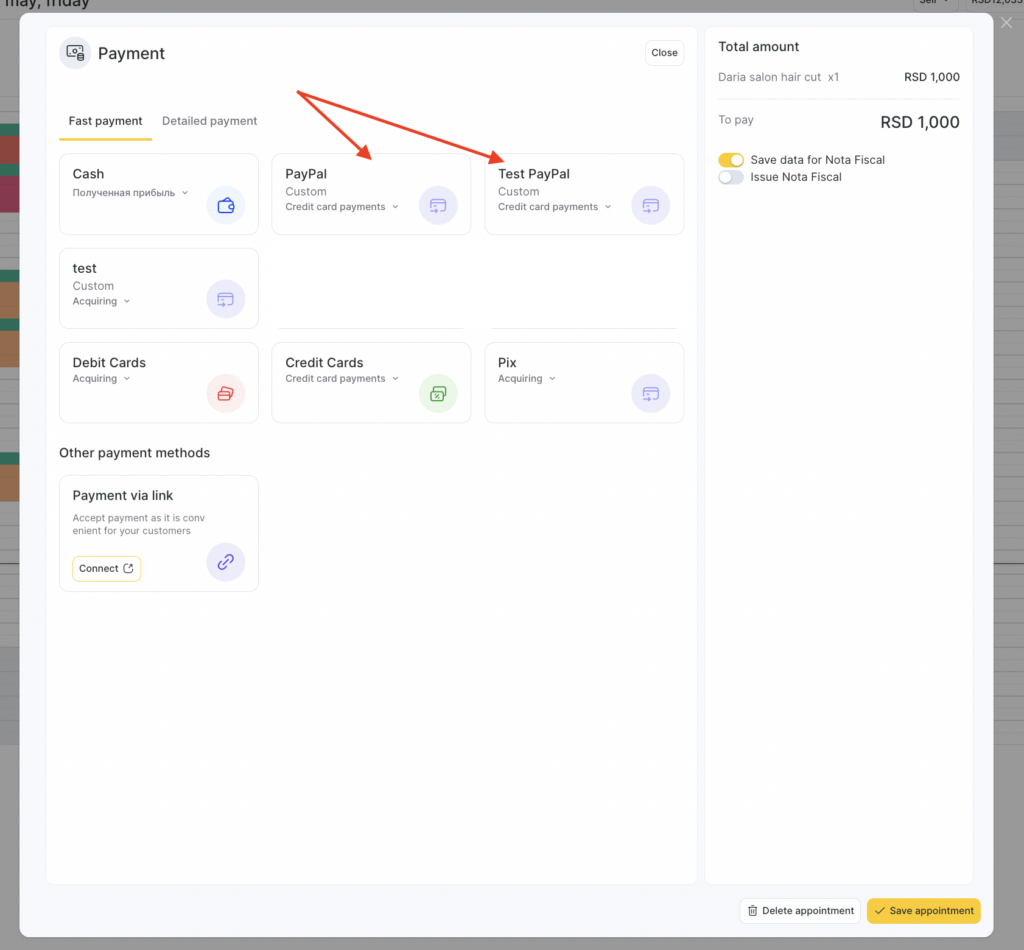
Simply select the appropriate method and process the payment directly from the appointment.
After payment is processed you can view the brief details in the same window:
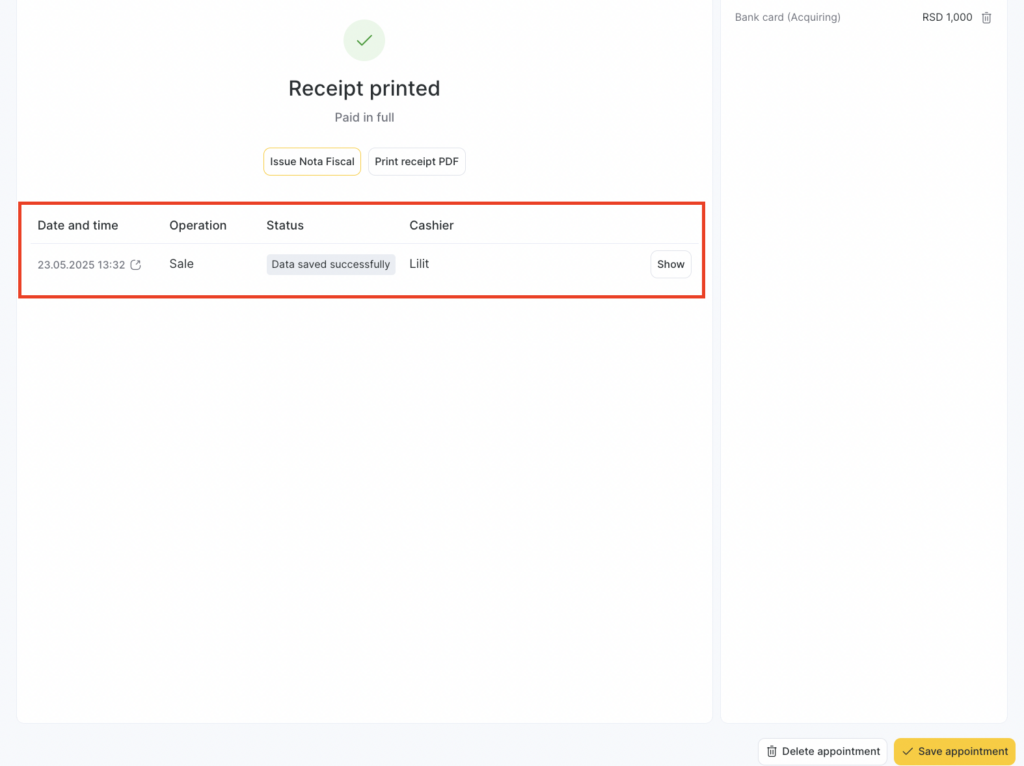
This way, every transaction is accounted for properly — right where you manage your client visits.
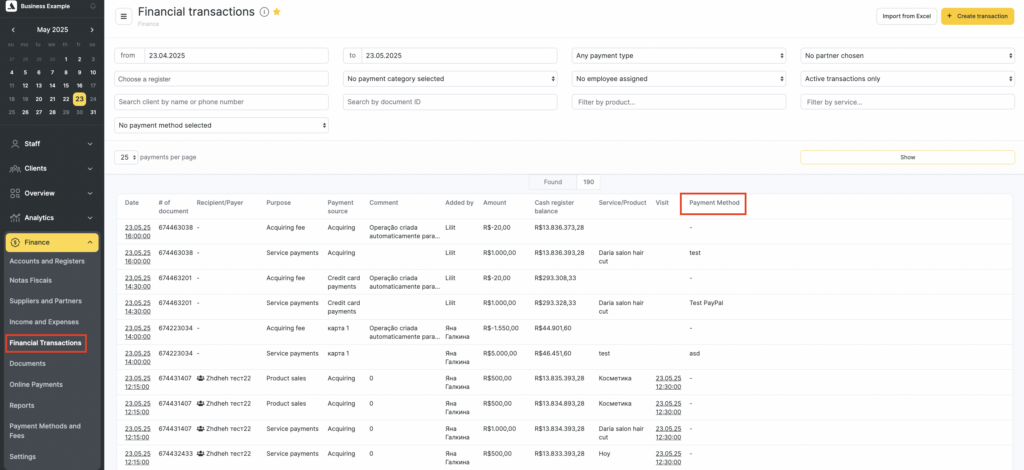
If you click the Show button under the details of the specific payment,
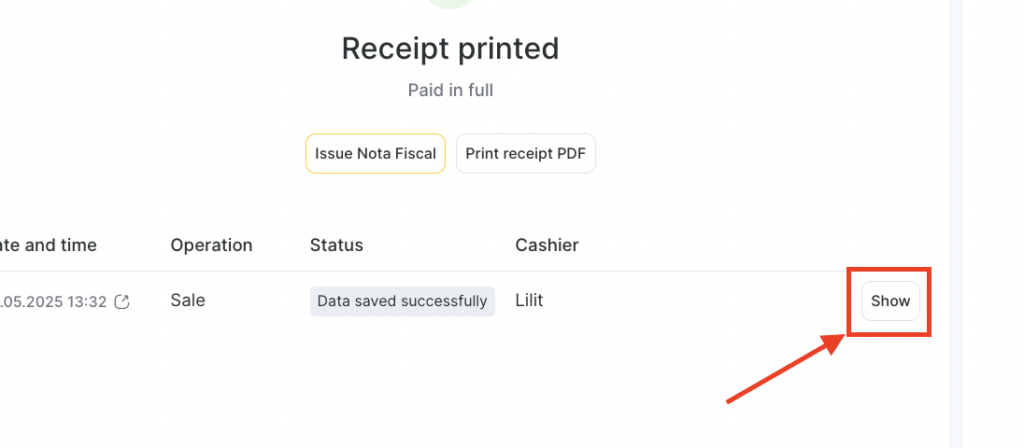
you will be redirected to Finance> Financial Transactions section where you can check the detailed information.
Debit & Credit Cards (Updated for CIS & Ukraine) #
⚠️ Note for CIS & Ukraine users:
The Debit Card payment method is no longer available by default in these regions. All debit card configurations have been migrated to the Credit Card option, which is now renamed as Bank Card.
If you’re in CIS or Ukraine, you will only see Bank Card as an option going forward.

