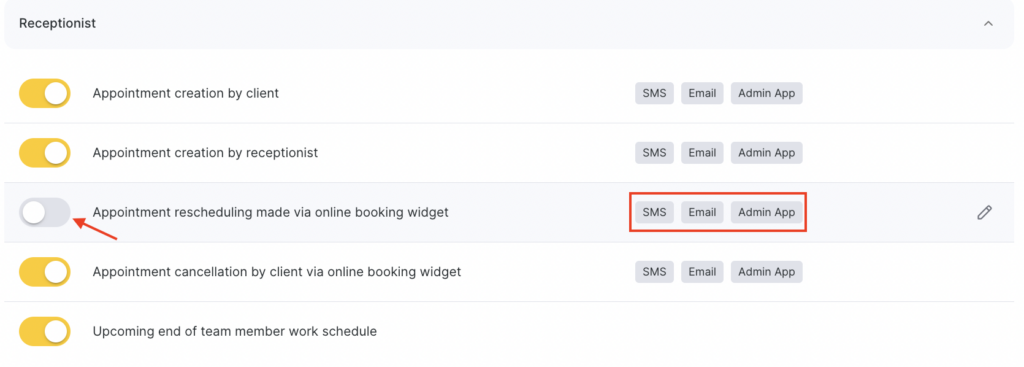
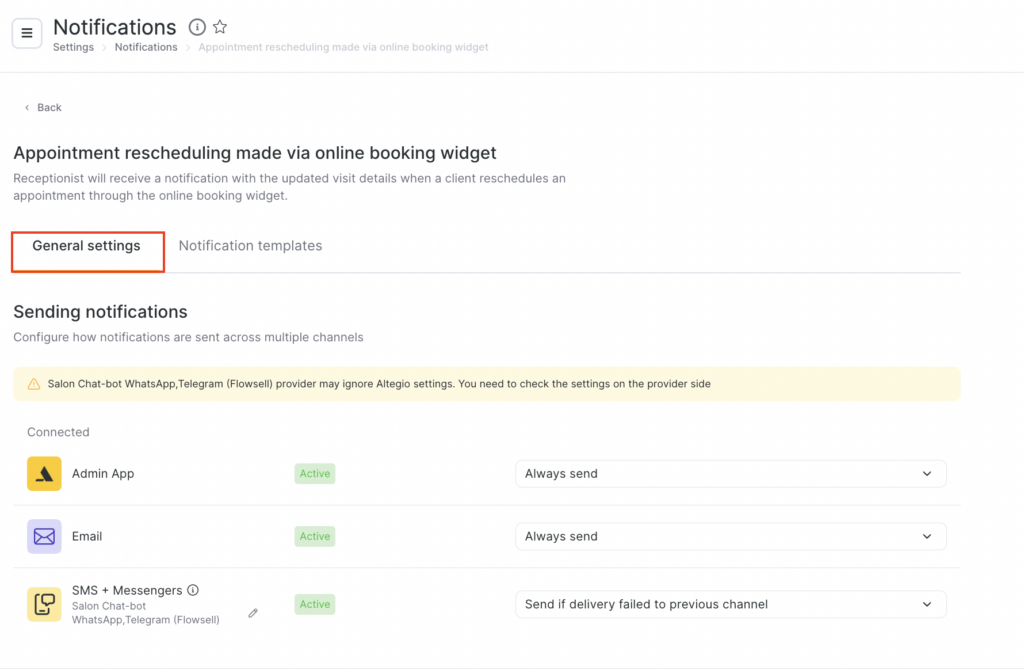
Automatic notification that is sent to the receptionist after an appointment is rescheduled.
Immediately after an appointment created via the online booking widget is rescheduled, the receptionist will receive a message that the appointment has been rescheduled, along with the details of the updated visit. The notification is sent both when the client changes the appointment themselves via the widget and when another receptionist or team member changes it.
Used to ensure the receptionist is informed about changes in the booking schedule in a timely manner.
Setup and editing #
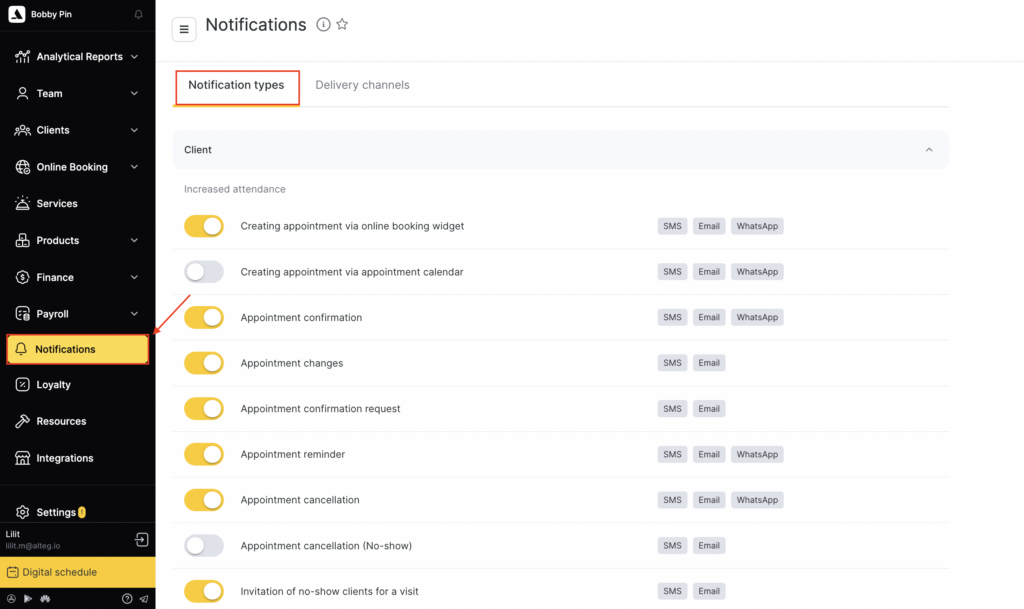
- In the Administration mode, go to Notifications, then open the Notification types tab.
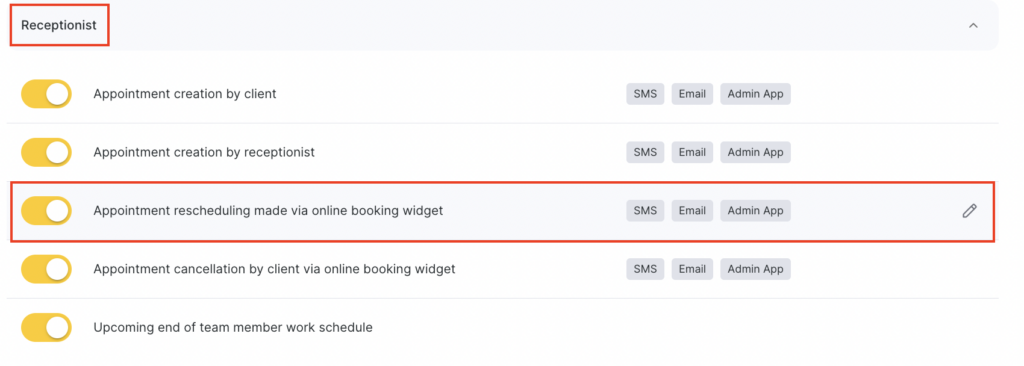
- In the Receptionist section, select Appointment rescheduling made via online booking widget by clicking the notification name or thepencil icon.
- On the General settings tab, configure how notifications will be sent via multiple channels. For more details about multi-channel notification scenarios, see the article. Available channels:
- Admin app
- SMS / chat-bots
Templates #
After setting up the sending scenarios, configure templates for different channels. More details on setting up notification templates are available here.
- When editing the notification on the Notification templates tab, you can set different text for each available sending channel.
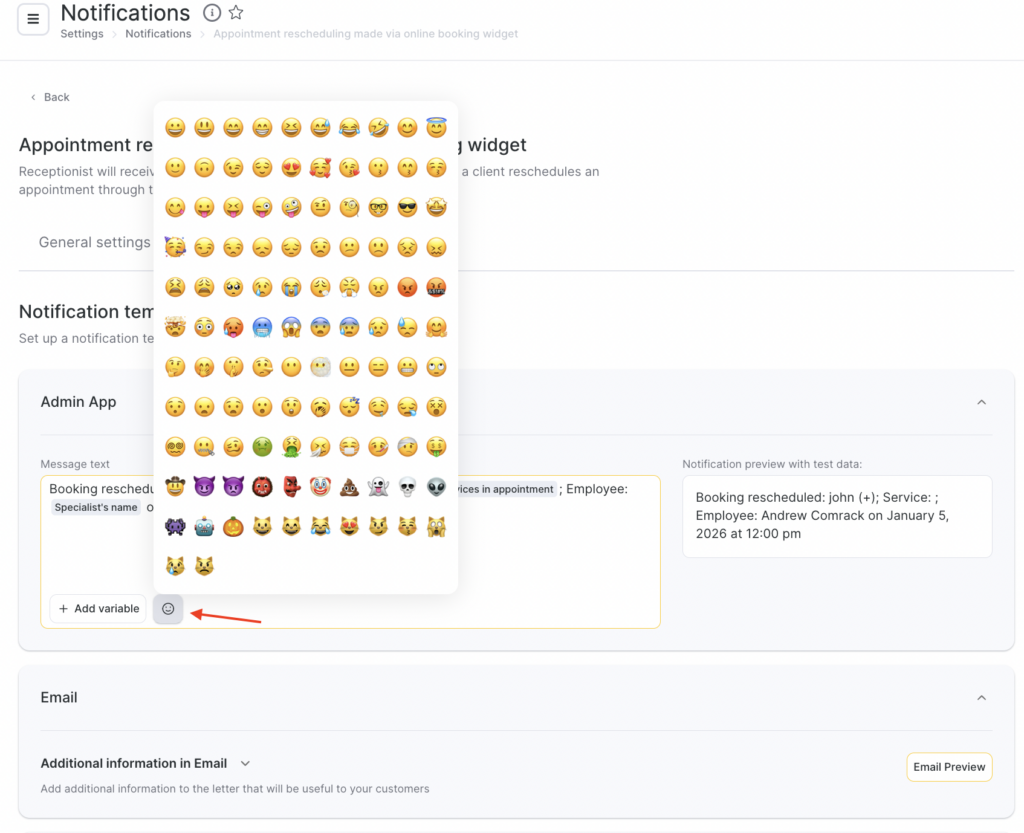
- For the SMS template, variables are available — they will automatically insert visit, service, client, or location data. To add a variable to the template, click Add variable, then choose the one that fits the context.
After adding a variable, use a space to separate the variable from the main text and other variables.

In SMS notification templates, you can use emoji. To do this, click the smiley button and choose one from the list or add your own.
Standard templates with variables
Appointment rescheduled: Client name (Client phone number); Service: Services in the visit; Staff: Staff name on Appointment date and time
Appointment rescheduled: Client name (Client phone number); Staff: Staff name on Appointment date and time
Appointment rescheduled: Client name (Client phone number) on Appointment date and time
Example
“Appointment rescheduled. Client: Liana (+123456789); Service: Haircut; Staff: Miko; Time: March 25 at 18:00”
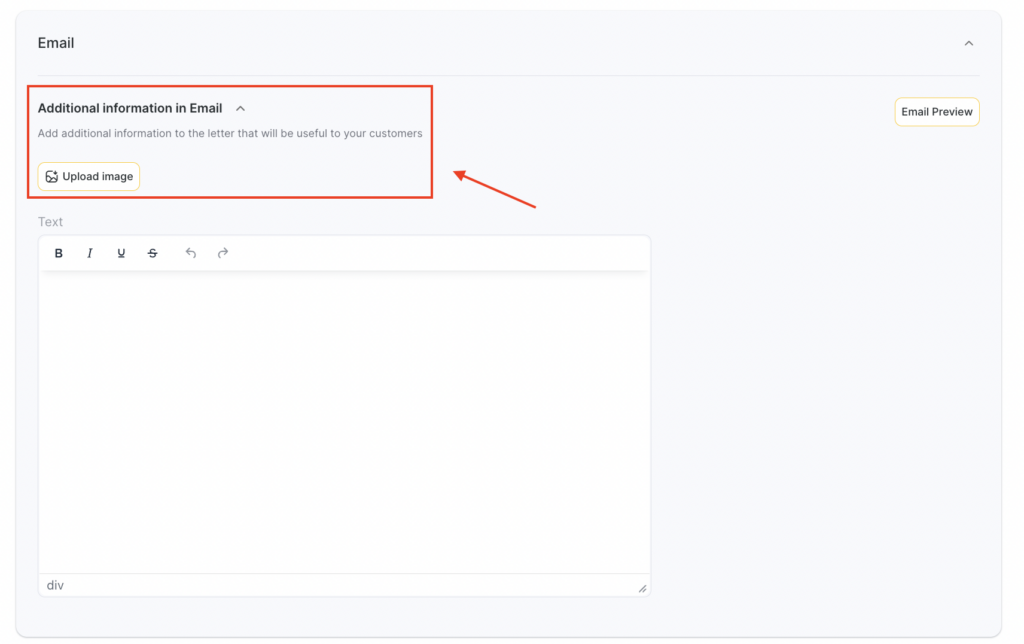
- For the Email channel, editing the template is not available, but you can add additional information. To do this:
- When setting up notification templates, go to the Additional information in email tab.
- Enter additional text, upload an image, or add a link.
Click Save.
More details on setting up notification templates are available in the article.
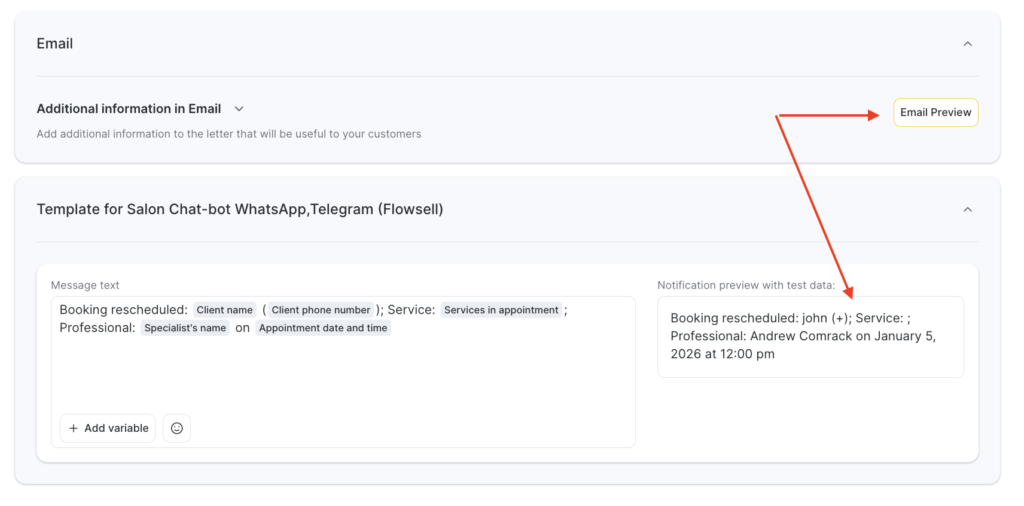
For all notification templates, preview is available — how the message will look when sent to a client, team member, or receptionist taking variables into account.
Finishing setup #
- After completing the configuration, click Save in the bottom-right corner of the page.
- To enable the notification, return to the Notification types tab and switch the toggle to the active state. To disable the notification, switch the toggle to the inactive state.To the right of the notification name, the enabled sending channels for this type will be displayed.