You can sell a product to a client in several ways:
- In the visit window (see the article for details).
- Using the Sell product button in the calendar, without linking the sale to an appointment (see the article for details).
- In Products > Inventory Management — this article covers this method.
Creating an inventory operation
Selling products is not always related to providing services to clients, so in some cases it isn’t necessary to sell the product through the appointment calendar.
To record a product sale via an inventory operation:
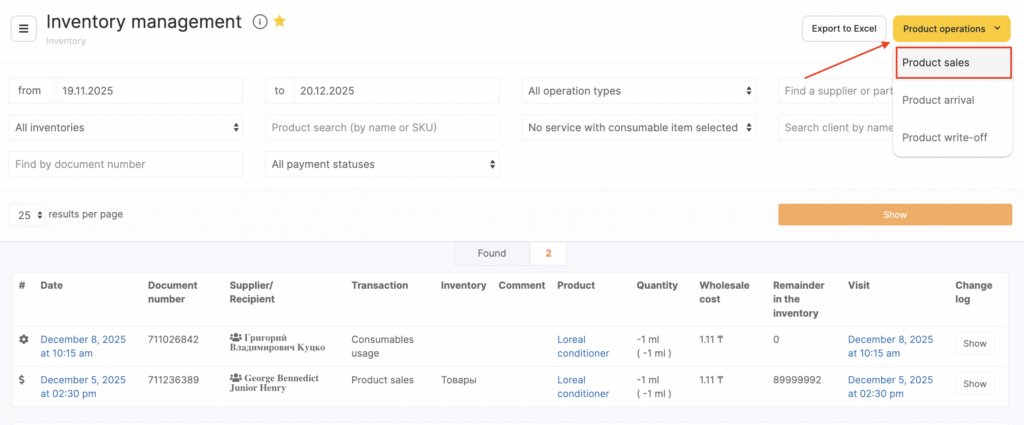
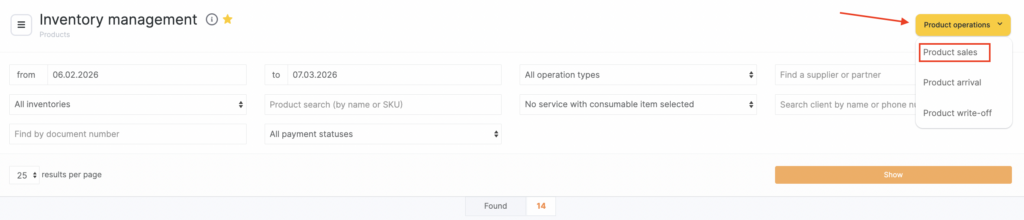
- Go to Administration mode Products > Inventory Management section and click Product operations.
- In the dropdown list, select Product sales.
- In the window that opens, specify the date and time of the inventory operation (the current date and time will be filled in automatically). Enter and select the client’s name or phone number the product was sold to (this field is optional). Select the team member who sold the product, and the inventory (the inventory must have the For selling products type).
- Add the product(s).
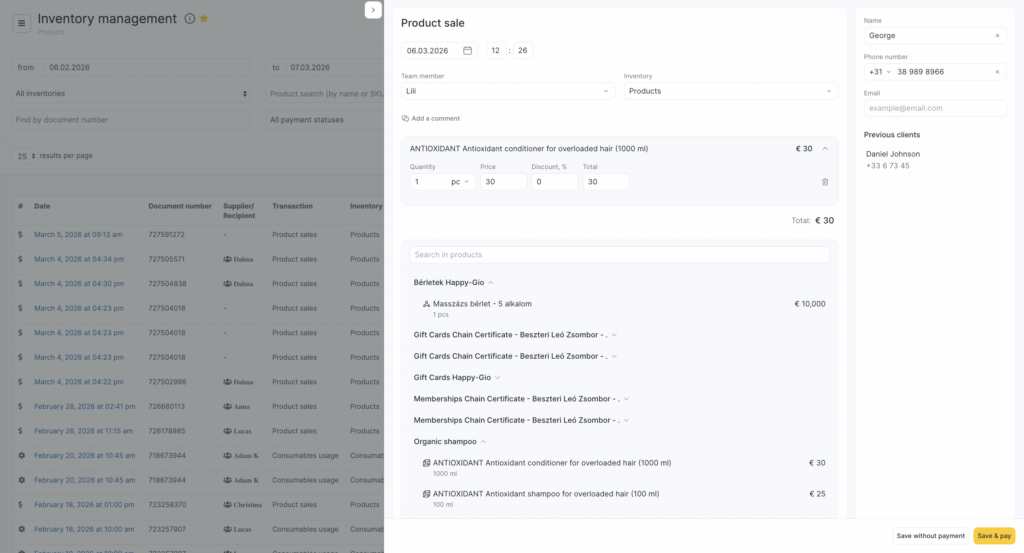
- Enter the product name or SKU and select the required option from the dropdown list. To remove an item from the list, click the trash icon (read more about products catalog setup here).
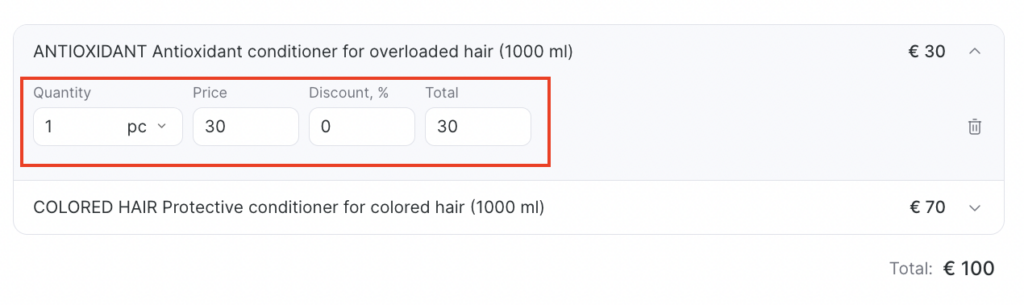
After you add products, their details will be filled in automatically. The price equals the sale price specified in the product card. If it’s set, it will be filled in automatically; if not, enter it manually.
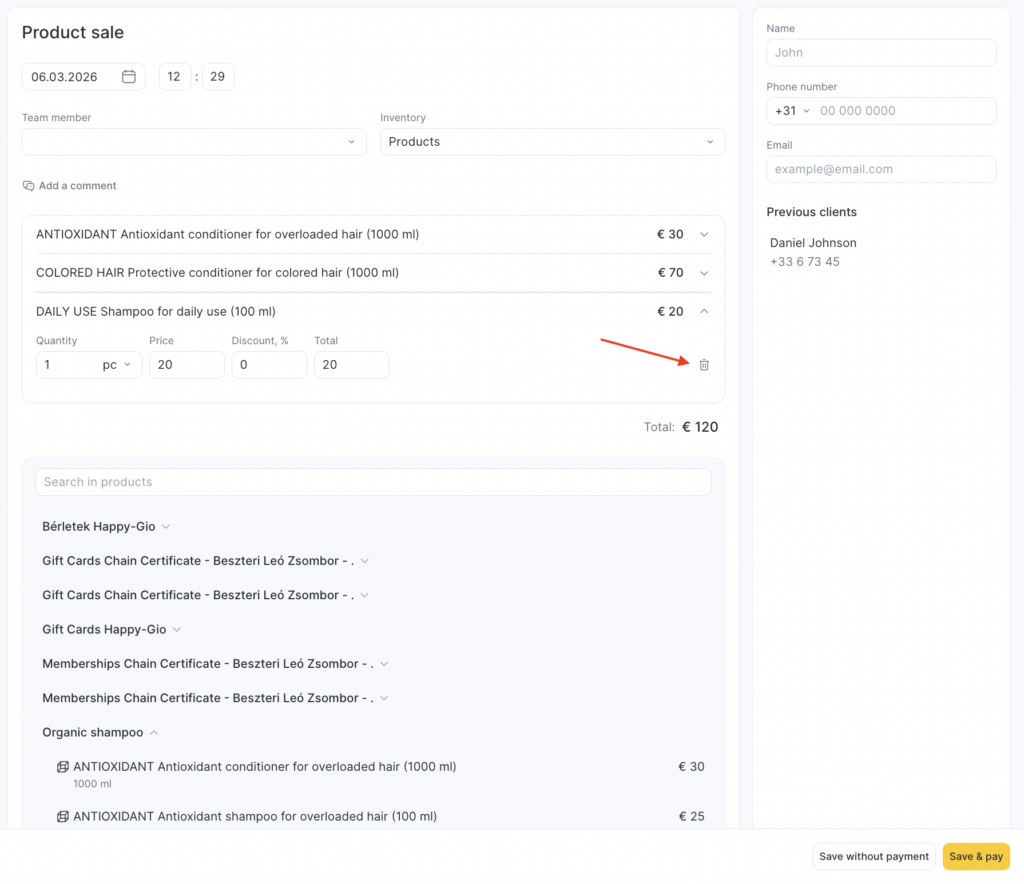
- Enter the product Quantity (units of measure will be pulled automatically from the product card). If needed, enter a Discount (as a percentage).
The Total amount will be calculated based on quantity and the discount.
- To add a comment to the sale click the Add a comment button.
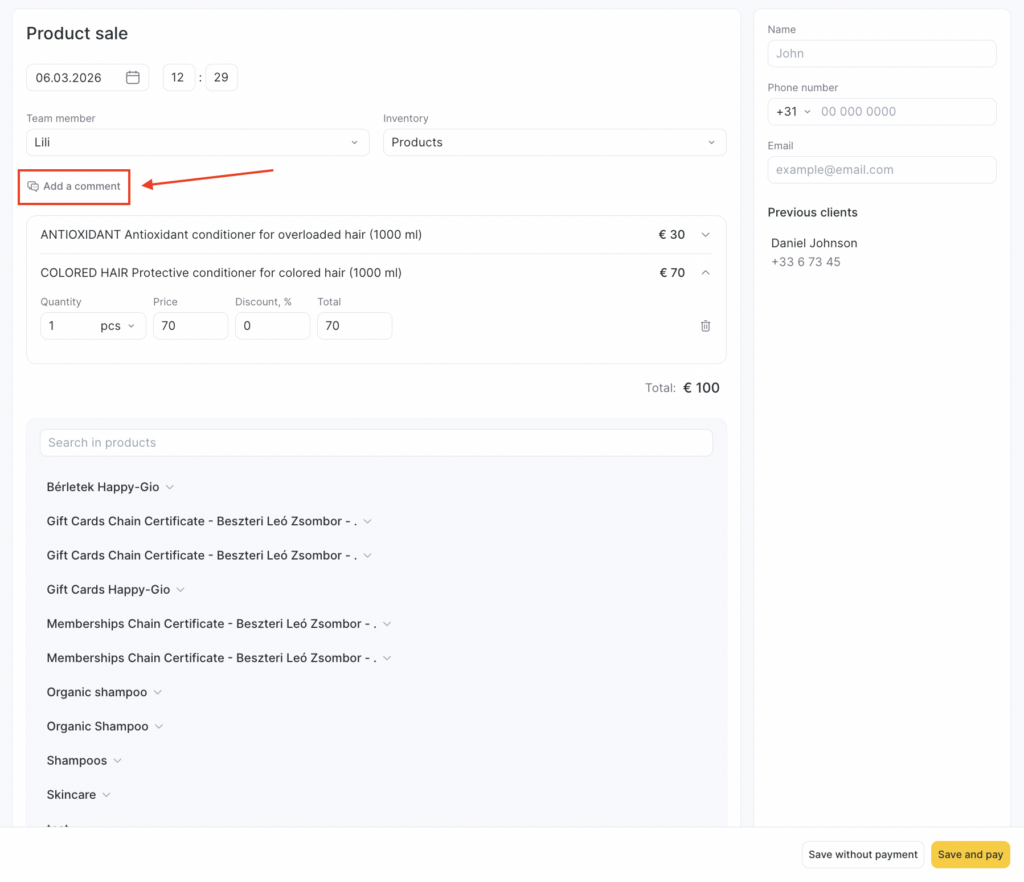
To save the inventory operation, click Save without payment. In this case, the product sale will be created without payment. If you want to proceed to payment, click Save and pay.
Paying for products
If you want to make a payment before saving, click Save and pay. You can process payment in cash, by bank card, or using loyalty.
Cash / bank card payment
In the payment menu, you can print a receipt, pay in one payment using the Fast payment block, or choose a split payment in the Split payment block.
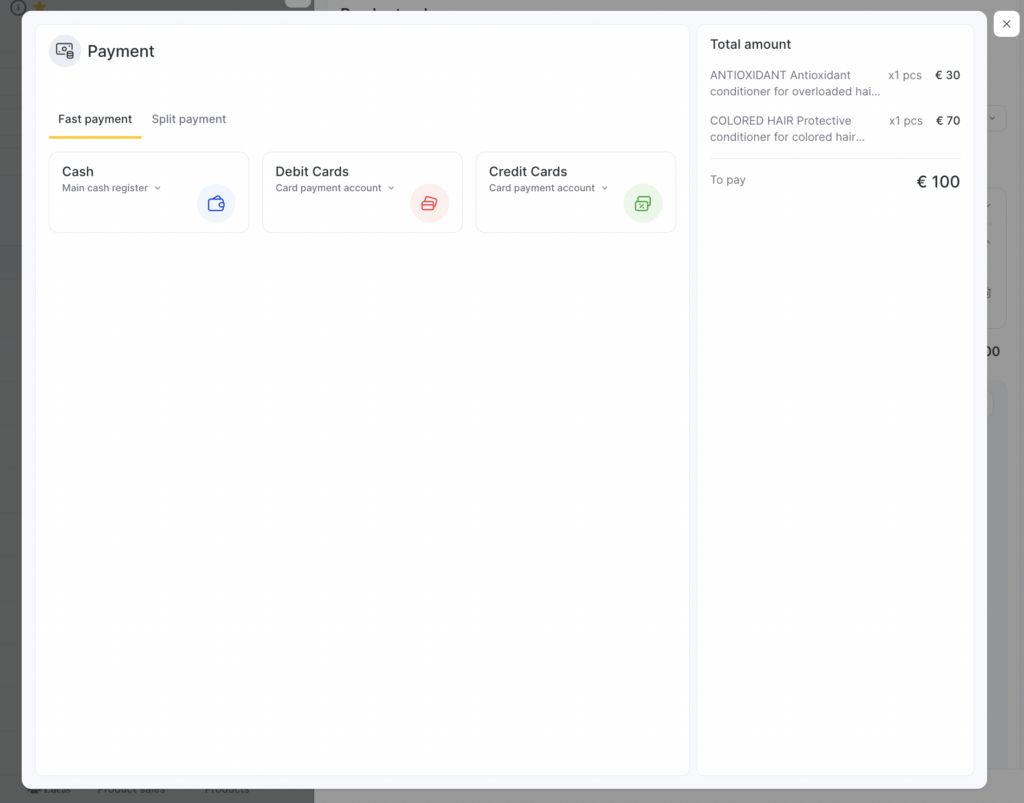
To pay in one payment, click Pay in cash or Pay by bank card in the Fast payment block. If you want to change the cash register that will receive the payment, click the arrow next to the selected payment method.
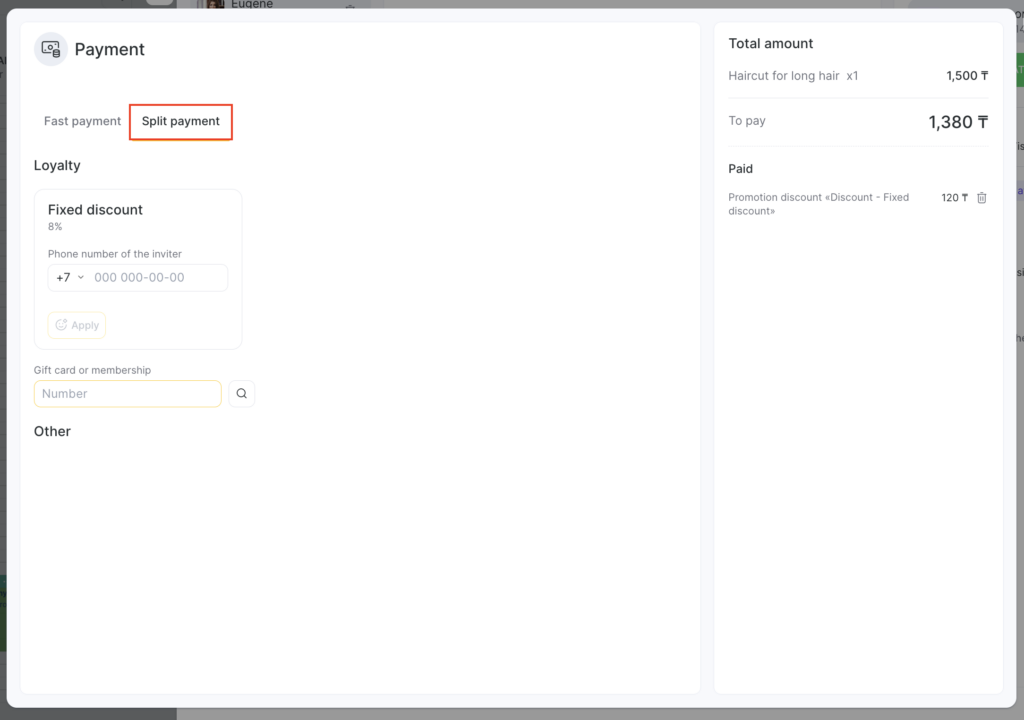
For split payments, go to the Split payment tab, then in the window that appears select the amounts and payment methods.
Loyalty payment
After you proceed to payment (Save and go to payment), the Detailed payment block will show the loyalty options available to that client for paying for the selected products. To write off the maximum possible amount from the balance, simply click the required loyalty type.
If your network has Cashback promotions that apply to the sold product, the cashback will be начислено/credited automatically — you don’t need to apply a card.
To write off only part of the amount, click Partial payment next to the selected loyalty type.
If the gift card type you need is not linked to the client and doesn’t appear in the block, you can find it using Search by code and other payment methods, located a bit lower.
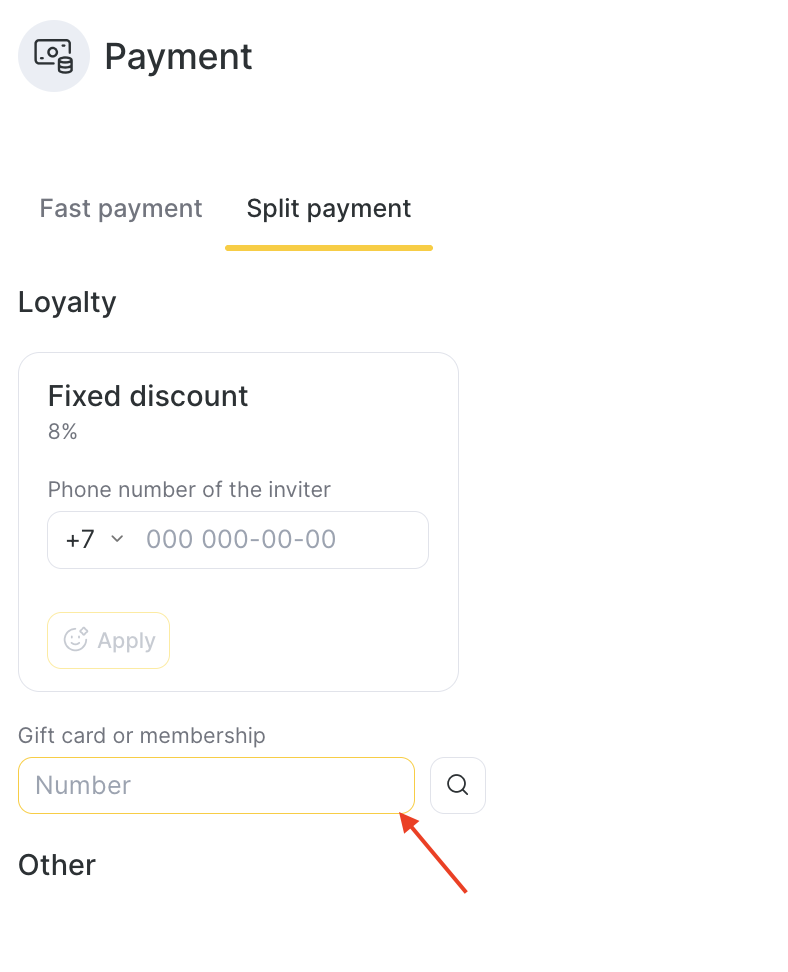
Enter the gift card code in the corresponding field. If a gift card with that code exists, it will appear in the search results (this option works only for gift cad types where selling without a code is not allowed).
Selling a product via an inventory operation creates two operations at the same time: an inventory operation and a financial operation. You can view details in Products > Inventory Management and Finance > Financial Transactions.