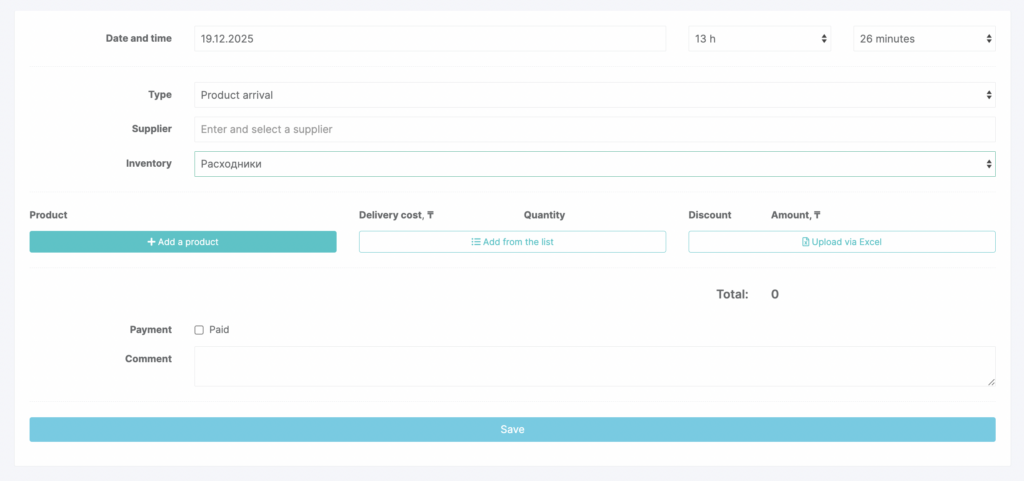
To record products arriving to an inventory:
- Go to Products > Inventory Management (Administration mode).
- Click Product operations.
- In the dropdown list, select Product arrival.

- In the window that opens, specify the date and time of the inventory operation. Enter and select the Supplier (the supplier must be created in advance; detailed instructions are here) and the Inventory the products will be received into.
- Then add the products.
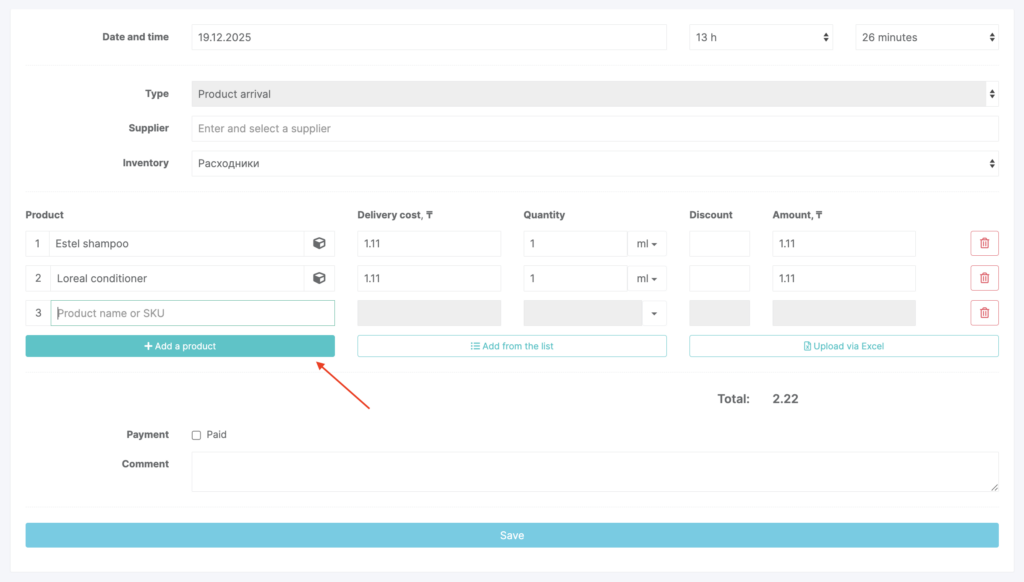
Three ways to add products to the receipt
1) Add each product one by one
Click Add product and enter the product name or SKU (see the product catalog setup article for details).
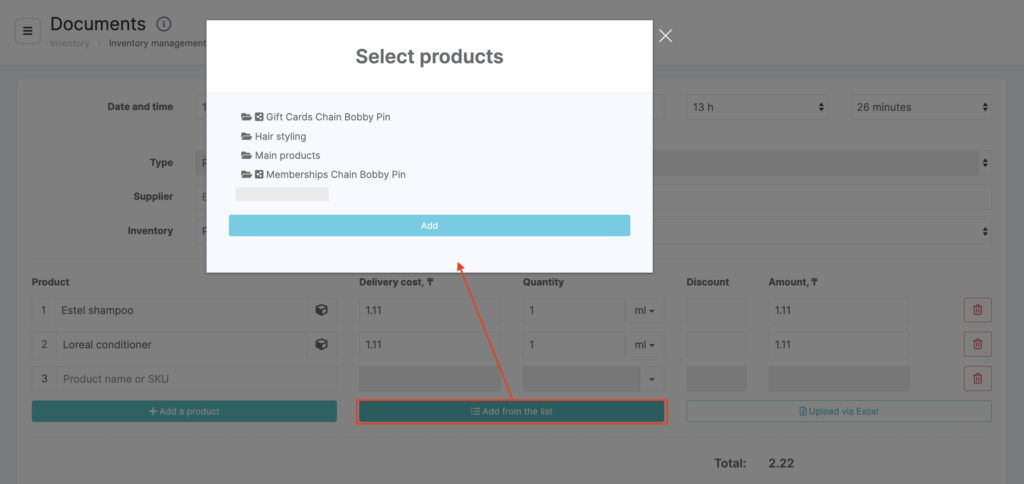
2) Add products from a list
Click Add from list. Select a category, click its name, then click Add. Check the products you want to receive and click Add.
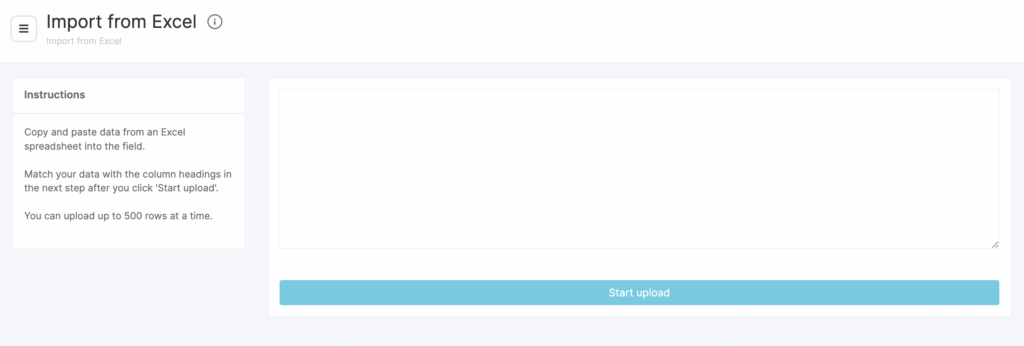
3) Add multiple products from Excel
- Click Upload via Excel.
- Copy the data from your Excel table into the input field.
- Click Start upload, then in the window that opens match the data to the table headers.
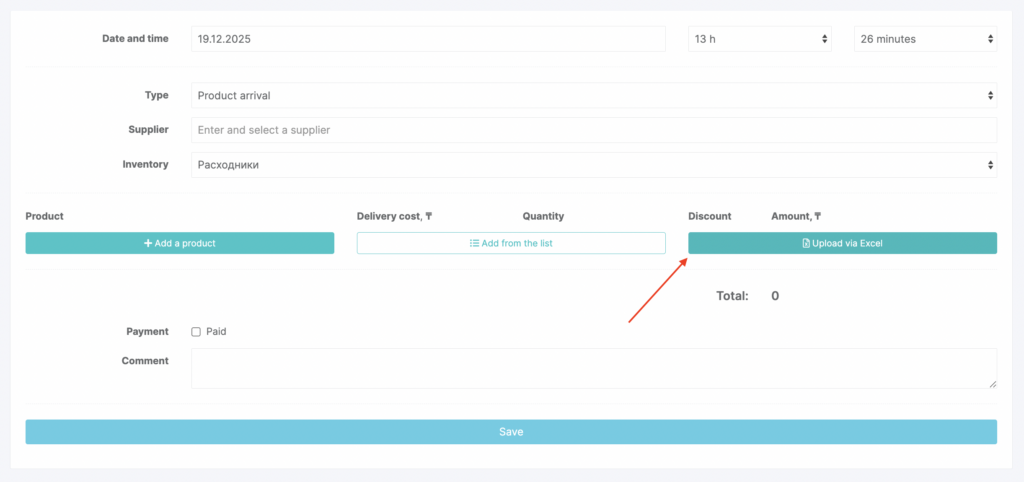
- The required fields are Name, Quantity, Purchase price, and Total price.
- Click Save.
Filling in product details
After you add products, their details will be filled in automatically.
- Purchase price equals the cost price set in the product card. If cost price is set, the purchase price will be filled in automatically; if not, enter it manually.
- Enter the Quantity (units of measure will also be pulled automatically from the product card). If needed, enter a Discount (as a percentage).
- The Total amount for each product and for the entire delivery will be calculated based on the quantity and discount.
- If the delivery is paid immediately, check Payment and select the Cash register the funds will be deducted from.
- Add a Comment and click Save.
A product arrival creates two operations at once: an inventory operation and a financial operation. You can view the details in Inventory > Inventory Management and Finance > Financial Transactions.